Home / All / Support / Differential Bearing Removal: Tools and Best Practices
Differential Bearing Removal: Tools and Best Practices
Update Time:2026/10/20
Differential Bearing Removal: Tools and Best Practices: direct answer
Differential bearing removal is a controlled disassembly task, not a general pulling job. The correct approach identifies which ring is tight, protects adjusters and shims, and uses a rated puller or press arrangement that keeps force away from cages and gear teeth.
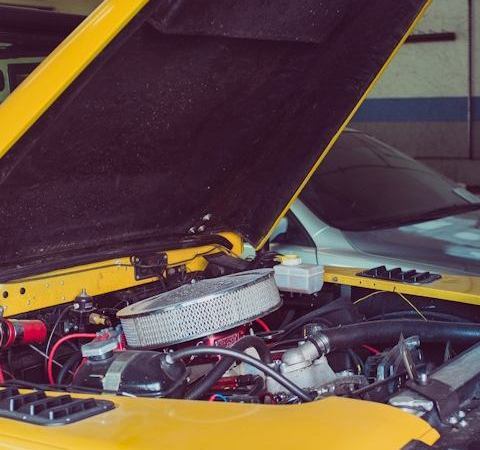
Mechanical detail used to illustrate controlled component access
Identify the bearing location and fit
Carrier, side, pinion, and pilot bearings may have different retention and removal paths. Confirm the specific differential design before selecting a puller, separator, or press tool.
Choose a tool that fits the ring you can reach
Use a separator where access behind an inner ring is limited, a suitable puller where jaws can fully engage, or a documented press method when the component has a stable support surface.
Keep adjusters, caps, and shims indexed
Mark locations and organize side-specific parts when the procedure allows. Mixing components or losing shim information can create avoidable setup work later.
Clean automotive workstation for differential component handling
Build a stable reaction path
Support the carrier or cage on appropriate surfaces and keep the tool centered. Do not use the ring gear, bearing cage, or fragile housing edges as improvised reaction points.
Use controlled force and stop early
Increase load gradually while watching the separator, jaws, and part alignment. Stop when a tool slips or binding rises unexpectedly; more force is not a substitute for proper engagement.
Protect races and rolling elements
If a bearing will be reused, avoid loading through rollers or the cage. Even when replacement is planned, protect adjacent seats and gear surfaces from chips and tool marks.
Stable service area where force and support can be managed
Inspect before installation
Clean and inspect the bearing seats, housing bores, and carrier faces. Look for corrosion, fretting, cracks, or raised metal that would prevent correct seating.
Verify setup after reassembly
Use the specified measuring process for preload, backlash, runout, or bearing adjustment. The final checks are as important as removal because they control differential noise and service life.