Home / All / Support / How to Remove a Pinion Bearing from a Differential
How to Remove a Pinion Bearing from a Differential
Update Time:2026/10/19
How to Remove a Pinion Bearing from a Differential: direct answer
Remove a pinion bearing only after the specific axle procedure identifies the retainers, shims, preload components, and support points. A separator or split puller must engage beneath the inner race, while the pinion and gear teeth are supported against uncontrolled movement.
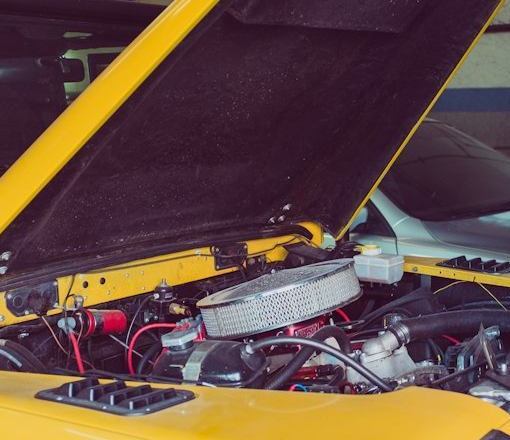
Mechanical service area for planning pinion bearing access
Confirm the axle service procedure
Differential assemblies vary by carrier, pinion cage, spacer, shim, and seal design. Identify the assembly and record adjustment information before loosening a retainer or disturbing bearing preload.
Remove external components in sequence
The driveshaft, yoke or flange, seal, nut, and retaining parts must be handled as specified. Do not treat a pinion seal repair as permission to disassemble or reset a preload arrangement without the required measurements.
Support the pinion and protect gear teeth
Use the documented fixture, press support, or blocking method. The pinion can be heavy and its gear teeth and threaded end are easy to damage when the load path is improvised.
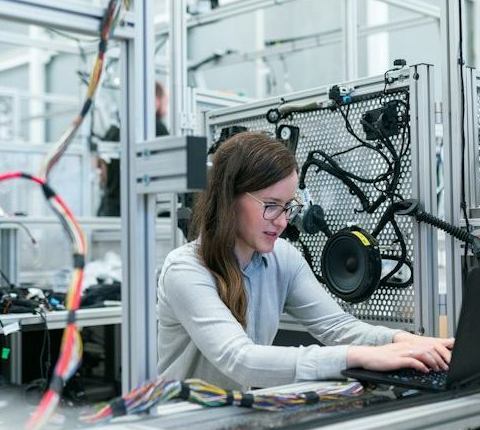
Automotive component workstation for organized differential service
Engage the inner race, not the cage
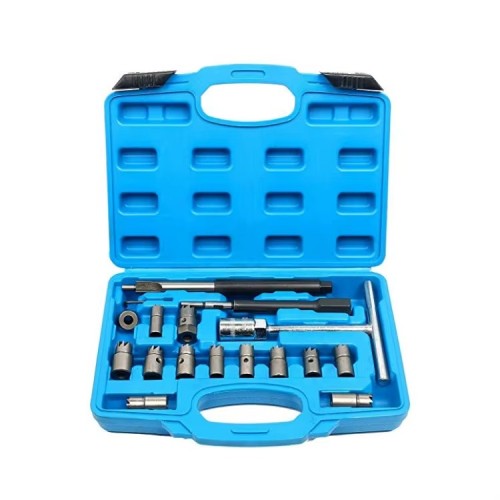
A bearing separator or split puller needs full, even contact under the cone or inner race. Pulling against the cage, rollers, or a thin seal surface risks debris, bending, and shaft damage.
Align the forcing screw or press ram
Keep the force centered on the pinion axis. Check jaw seating before loading and stop if the separator walks, the puller halves spread, or the component begins to cock.
Preserve shims and identifiable parts
Keep shims, spacers, and matched components organized by position. Their thickness and location can affect gear contact and bearing preload during reassembly.
Stable heavy-duty work environment for controlled tooling
Inspect the shaft and bearing seats
After removal, inspect for scoring, fretting, burrs, heat marks, and damaged threads. Correct only what the manufacturer permits; do not polish away material needed for an interference fit.
Install and set up with measurement tools
Installation requires the correct driver or press sleeve and the specified backlash, preload, and tooth-contact checks. A successful removal alone does not confirm the differential is ready for service.