- Ningbo Dongning Tools Co.,Ltd
- Professional Chinese Tools manufacturer on automotive speciality tools,bearing puller&heavy truck tools
- Address
- No.6 Falan Rd,Hengjie Town,Ningbo City,Zhejiang,China
- Phone
- +86-574-87216625
- info@nbdntools.com

Remove a stuck transmission bearing by supporting the correct race, keeping the pull straight, and increasing force gradually. Stop if the setup shifts, the bearing cage distorts, or heat could damage nearby seals, gears, or case surfaces.
Heat cycles, fretting corrosion, aged lubricant, and an interference fit can make a bearing resist normal removal. Treat resistance as a setup problem first, not a reason to apply uncontrolled force.
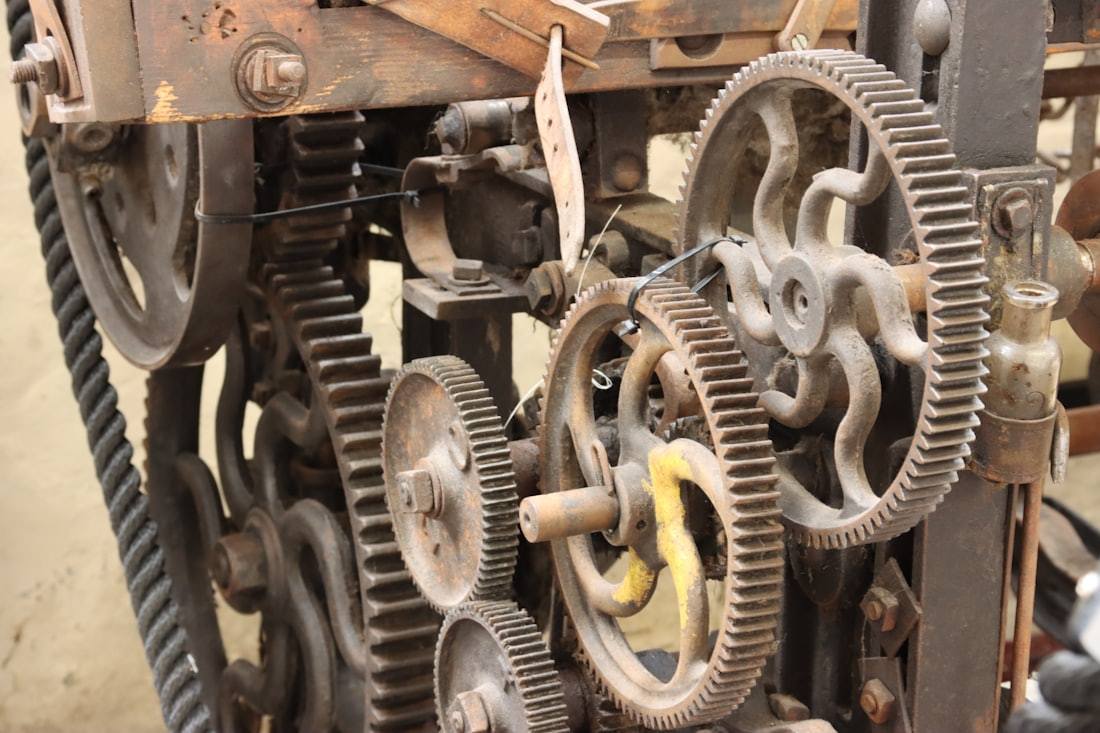
Identify whether the bearing sits on a shaft or in a bore, then confirm the intended extraction direction from the applicable transmission service information. Remove retainers, snap rings, and shields before pulling.
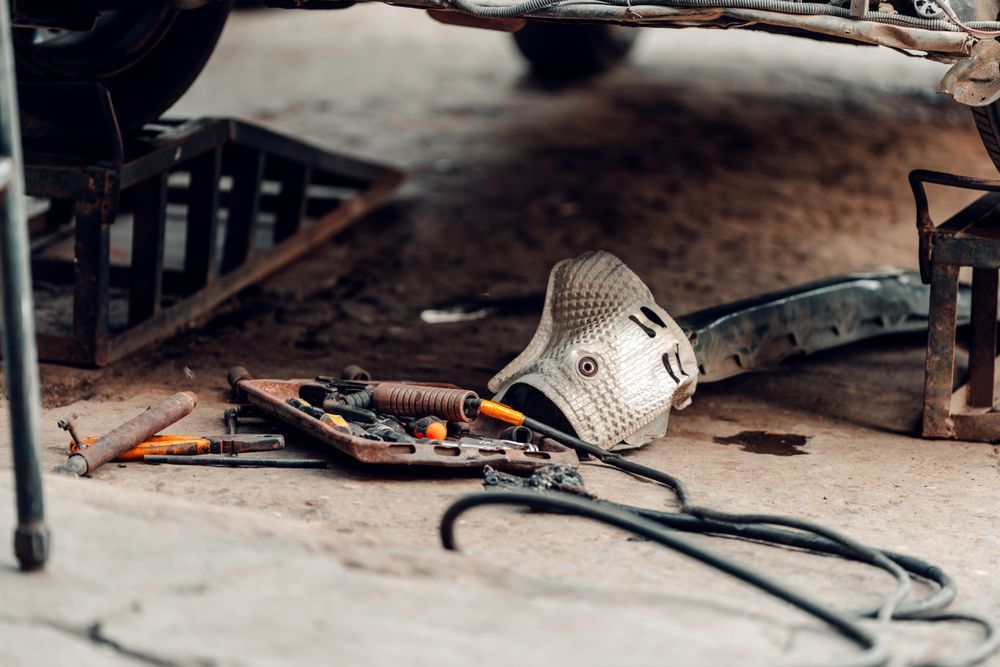
When there is limited grip behind the bearing, a properly sized separator gives the puller a firm bearing surface. Position its knife edges behind the target race rather than on the cage or rolling elements.
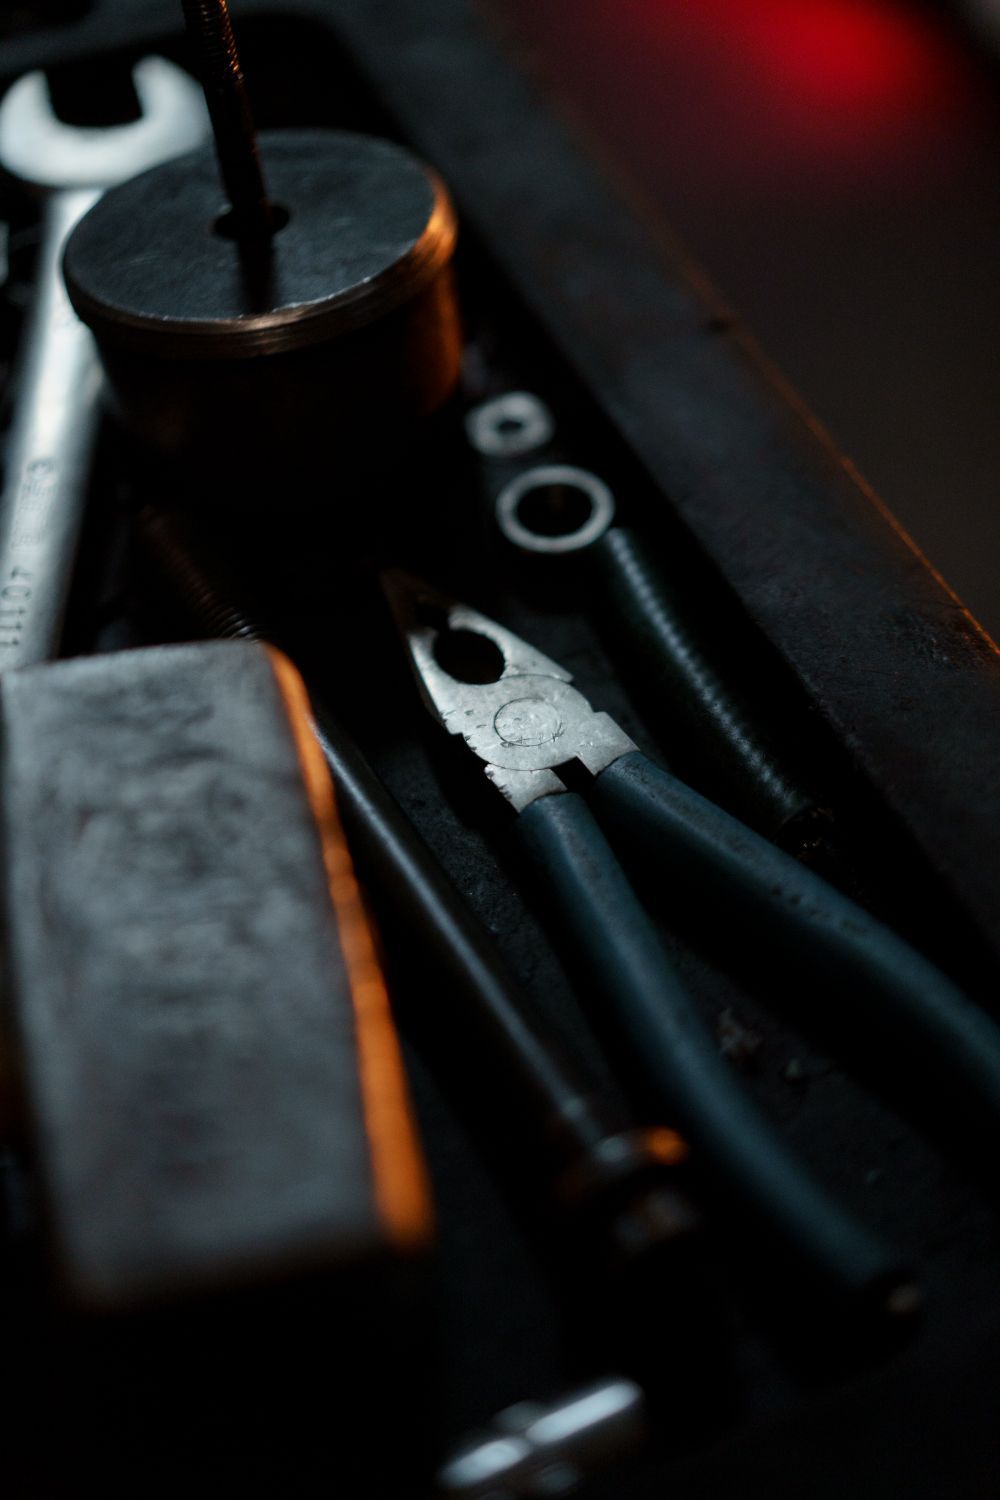
Align the forcing screw with the shaft axis and keep both legs or the separator equally loaded. A centered setup reduces side load that can score a shaft or crack a nearby component.
Tension the puller, inspect the contact points, and then increase force a little at a time. Listen for movement and re-check alignment after each stage instead of continuing through a binding setup.
Controlled localized heat can expand a bearing inner ring, but it must be compatible with the surrounding seals, lubricant, temper-sensitive parts, and service procedure. Do not heat blindly or use an open flame near flammables.
Stop if the bearing separator creeps, the puller hooks spread, the cage collapses, or the shaft begins to bend. Rebuild the fixture, use a different contact method, or move the assembly to a press where appropriate.
Clean the seat and inspect for scoring, corrosion, burrs, discoloration, or a spun-bearing condition. Correct surface defects only according to the component specification before fitting the replacement bearing.
A new bearing should be installed with force applied to the race being fitted. Keep the work area clean and protect the bearing from contamination introduced during removal.
A practical kit combines a puller with suitable reach, a separator range, spacers, protective hardware, and personal protective equipment. DNT Tools can help match these items to the actual transmission layout.
For puller, separator, and workshop setup guidance matched to your application, contact the DNT Tools team with the bearing location, shaft diameter, and available clearance.