- Ningbo Dongning Tools Co.,Ltd
- Professional Chinese Tools manufacturer on automotive speciality tools,bearing puller&heavy truck tools
- Address
- No.6 Falan Rd,Hengjie Town,Ningbo City,Zhejiang,China
- Phone
- +86-574-87216625
- info@nbdntools.com

Set up the puller only after the transmission is firmly supported, all retainers are released, and the attachment is seated on the correct bearing ring. Align the center screw or ram with the shaft centerline, apply force gradually, and stop if the puller shifts or side-load appears.
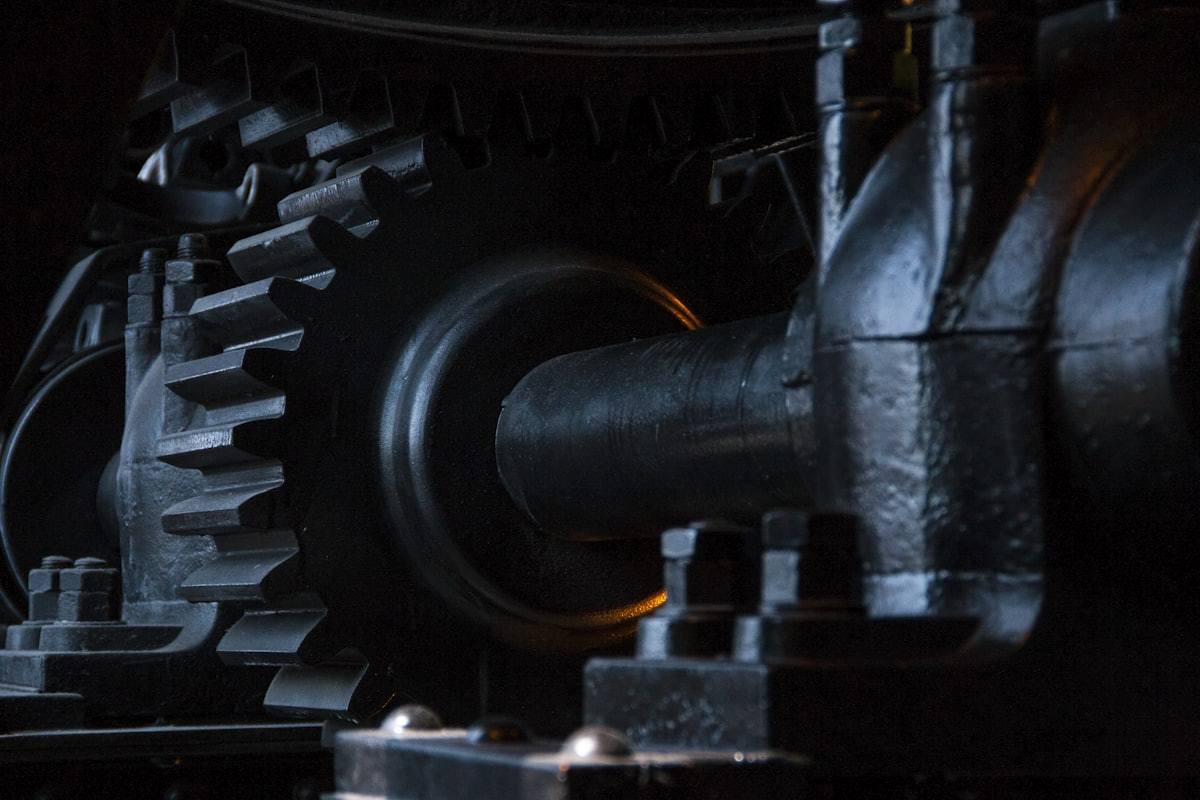
Start with the exact transmission service information. Heavy-duty designs can require special puller legs, separators, adapters, and support fixtures. Verify the bearing location, expected pull direction, retained parts, and the approved contact surfaces before fitting a universal or hydraulic puller.
Select a puller with adequate rated capacity, reach, and jaw or separator size for the bearing and available clearance. Hydraulic force can be useful on larger interference fits, but more force does not correct poor contact or wrong alignment. Use model-specific tooling whenever the procedure calls for it.
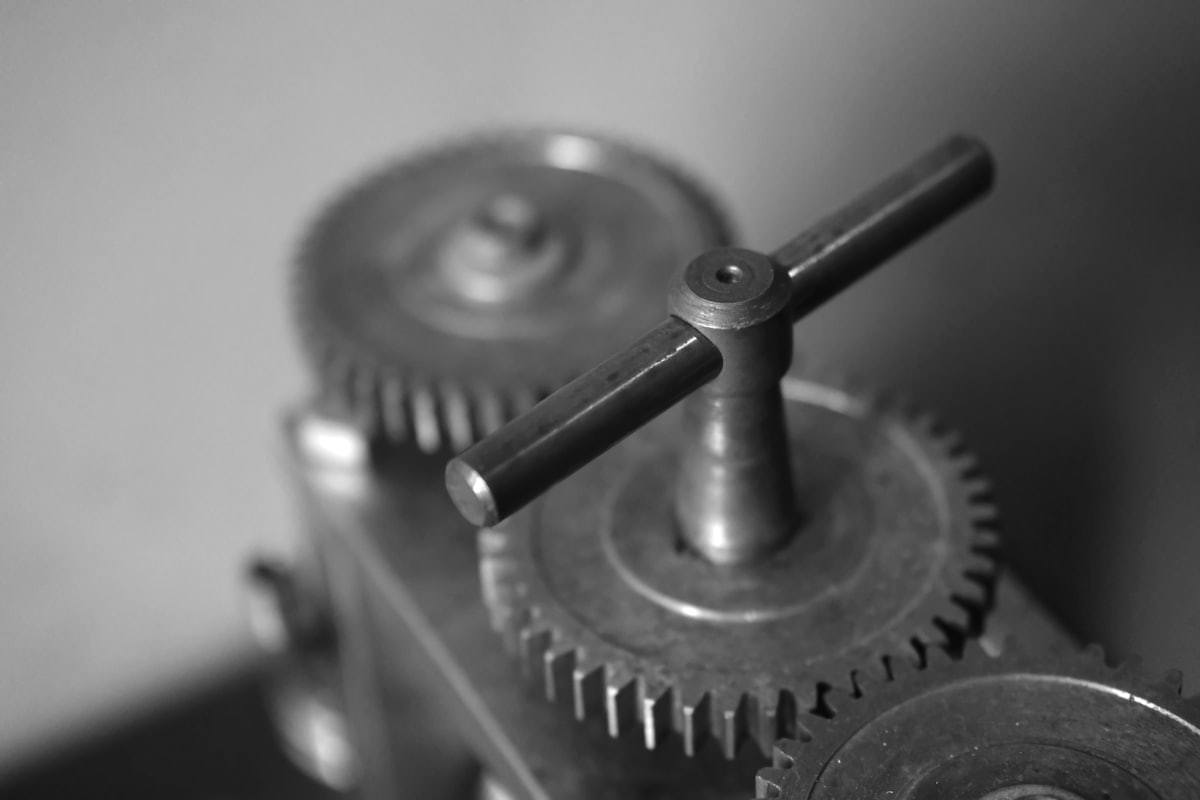
Where access allows, pull from the inner ring or approved back face rather than the cage. For tight clearance, use a separator or attachment designed to sit behind the bearing. Confirm that the attachment cannot slide onto a gear tooth, seal land, or aluminum case edge as load increases.
The forcing point must remain centered on a suitable shaft end, plug, or adapter. Check that the ram or screw is square to the shaft and that each jaw shares load evenly. A small alignment error can turn into damaging side load when higher force is applied.
Never stand directly behind a loaded puller. Use appropriate eye protection and keep others out of the potential release path. Do not use impact force, improvised spacers, or damaged jaws to overcome a problem. Reassess the setup before applying additional load.
After removal, inspect shaft shoulders, bearing seats, bores, retainers, and related gears. Record abnormal wear or heat marks before installing a replacement. The installation tool must support the ring that receives the interference fit so load is not transmitted through rolling elements.
DNT Tools can help workshops and distributors review puller capacity, attachment geometry, and access requirements for heavy-duty transmission applications. For a configuration discussion, contact the support team with bearing dimensions and service details.