Home / All / Support / Common Wheel-End Bearing Removal Problems and Solutions
Common Wheel-End Bearing Removal Problems and Solutions
Update Time:2026/11/19
Common Wheel-End Bearing Removal Problems and Solutions: the short answer
When a wheel-end bearing or race will not move, stop and check for remaining retainers, poor support, corrosion, wrong jaw placement, or a specified alternate procedure. More force can damage the hub, spindle, seal surface, or bearing seat. Follow the exact vehicle or axle service manual.
Confirm the hub is safely supported
Block the vehicle, lift and support it at approved points, and use a hub support when required. Keep heavy hub assemblies controlled during removal so they cannot drop, cock, or pull against the seal and spindle.
Check for hidden fasteners and retention features
Verify the spindle nut, lock washer, snap ring, retainer, spacer, and any model-specific hardware are removed in the prescribed order. Clean the area enough to see the retention features; do not assume that resistance means the fit is simply tight.
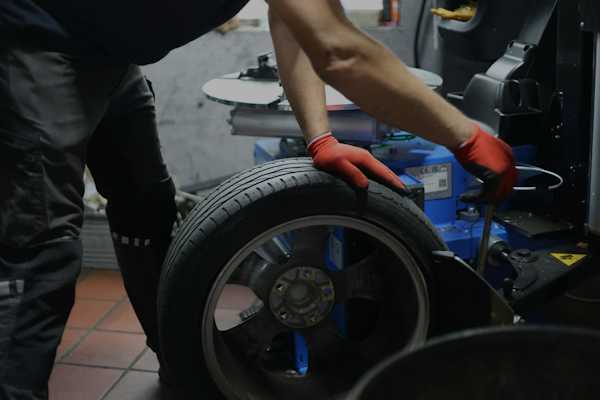
Wheel and tire handled in a service workshop. Photo: Unsplash.
Diagnose a stuck inner bearing race
If the inner race remains on the spindle, inspect whether the puller separator can seat fully behind the race. Keep the puller square and protect the shaft. If access is inadequate, use the service-approved separator, press, or dedicated tool rather than levering on the hub seal surface.
Avoid cocking the hub or bearing assembly
A hub that starts to tilt can bind on the spindle and damage the bearing, seal, or machined surfaces. Support the assembly evenly, maintain axial alignment, and apply force gradually. Stop if the gap becomes uneven or the puller legs shift.
Look for corrosion, fretting, or a damaged fit
Rust, transferred material, galling, and heat discoloration can explain abnormal resistance. Record what is found after disassembly and inspect the mating components against service limits. Do not grind, heat, or cut a spindle or race unless the exact approved procedure permits it.
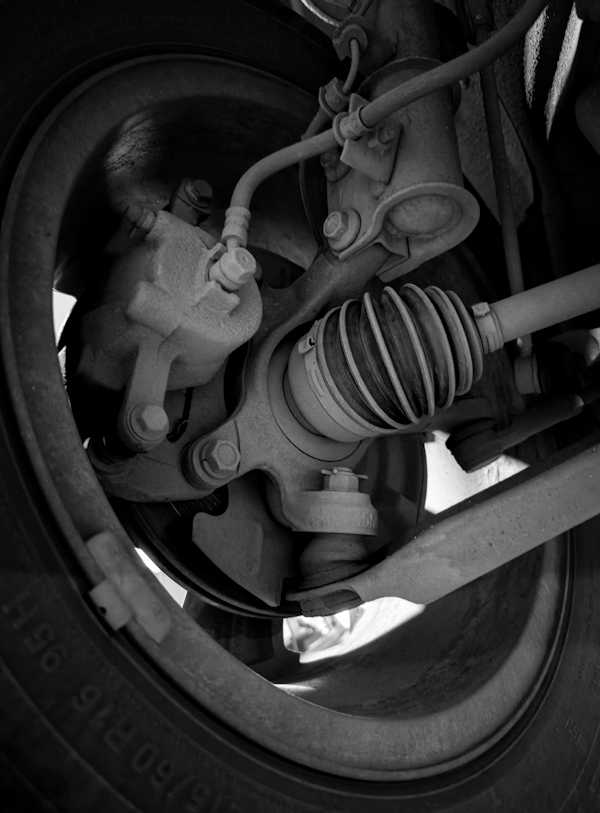
Suspension and wheel assembly viewed from underneath. Photo: Unsplash.
Separate lubrication and bearing symptoms from removal issues
Noise, rough rotation, leakage, abnormal end play, overheating, or contaminated lubricant can indicate a wheel-end condition, but each requires the prescribed inspection. Do not diagnose a bearing solely from one symptom; check the hub, seal, lubricant and adjustment together.
Use the correct puller contact point
The jaws or separator must act on the part intended for removal, not the cage, seal, hub flange, or a thin unsupported edge. Verify the puller's spread, reach, capacity, and adapter compatibility before loading it.
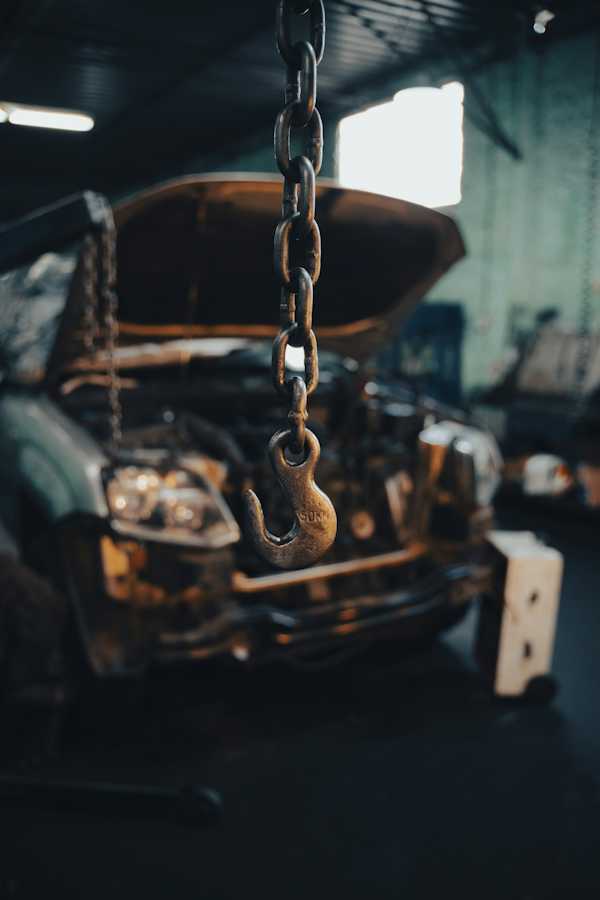
Mechanic inspecting an under-vehicle assembly. Photo: Unsplash.
Verify the assembly after the component is removed
Clean and inspect the cup, cone, hub, spindle, studs, and seal mounting area. Replace damaged parts as specified, lubricate and adjust correctly, and measure end play or torque using the vehicle's procedure before returning the vehicle to service.
Escalate when resistance remains unexplained
If the assembly remains stuck after the service steps and tool contact are verified, stop and consult the axle maker or a qualified technician. DNT Tools can help review puller access and separator selection, but cannot replace the vehicle-specific repair procedure.