
- Ningbo Dongning Tools Co.,Ltd
- Professional Chinese Tools manufacturer on automotive speciality tools,bearing puller&heavy truck tools
- Address
- No.6 Falan Rd,Hengjie Town,Ningbo City,Zhejiang,China
- Phone
- +86-574-87216625
- info@nbdntools.com

Direct answer: Use an arrangement that grips an approved, strong surface behind the hub or gear, stays centered on the shaft axis, and keeps pressure away from splines, shift components, and gear teeth. Confirm the gearbox procedure before removal.
Use an arrangement that grips an approved, strong surface behind the hub or gear, stays centered on the shaft axis, and keeps pressure away from splines, shift components, and gear teeth. Confirm the gearbox procedure before removal.
Photograph the gear train and mark the orientation of hubs, sleeves, keys, springs, spacers, and thrust washers. Small parts can look similar but install differently, so records prevent reassembly errors.
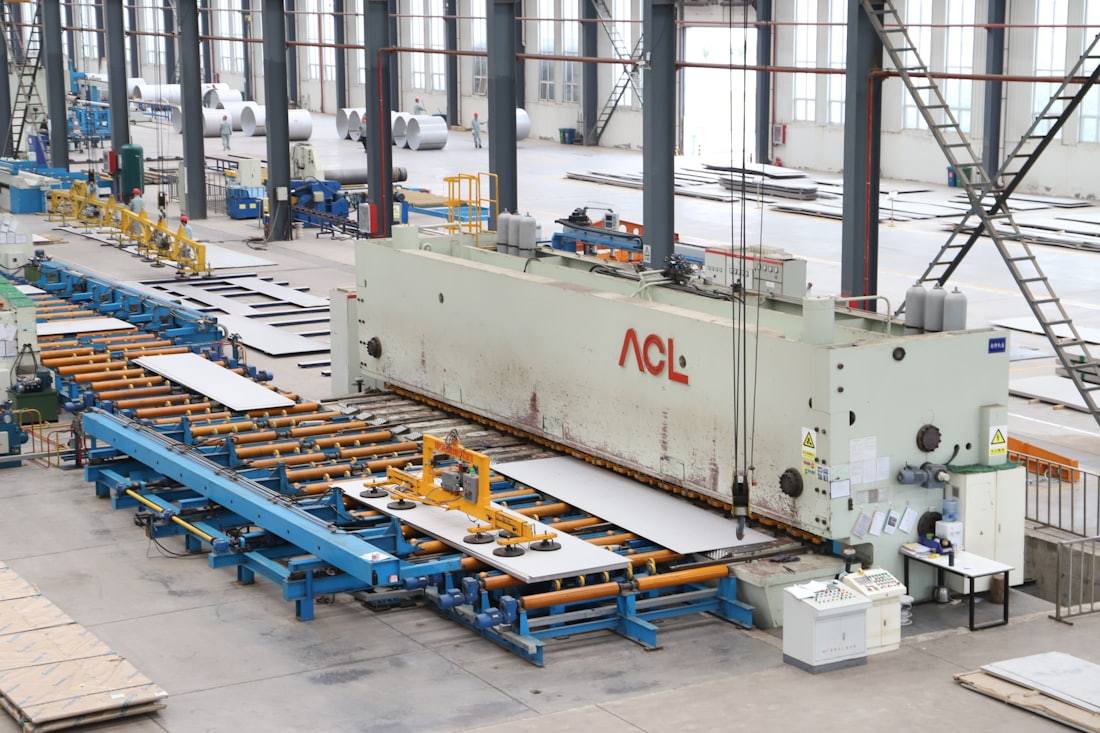
Synchronizer assemblies often use rings, locks, or retained spacers. Remove every specified retainer and confirm the component is meant to move before fitting a puller.
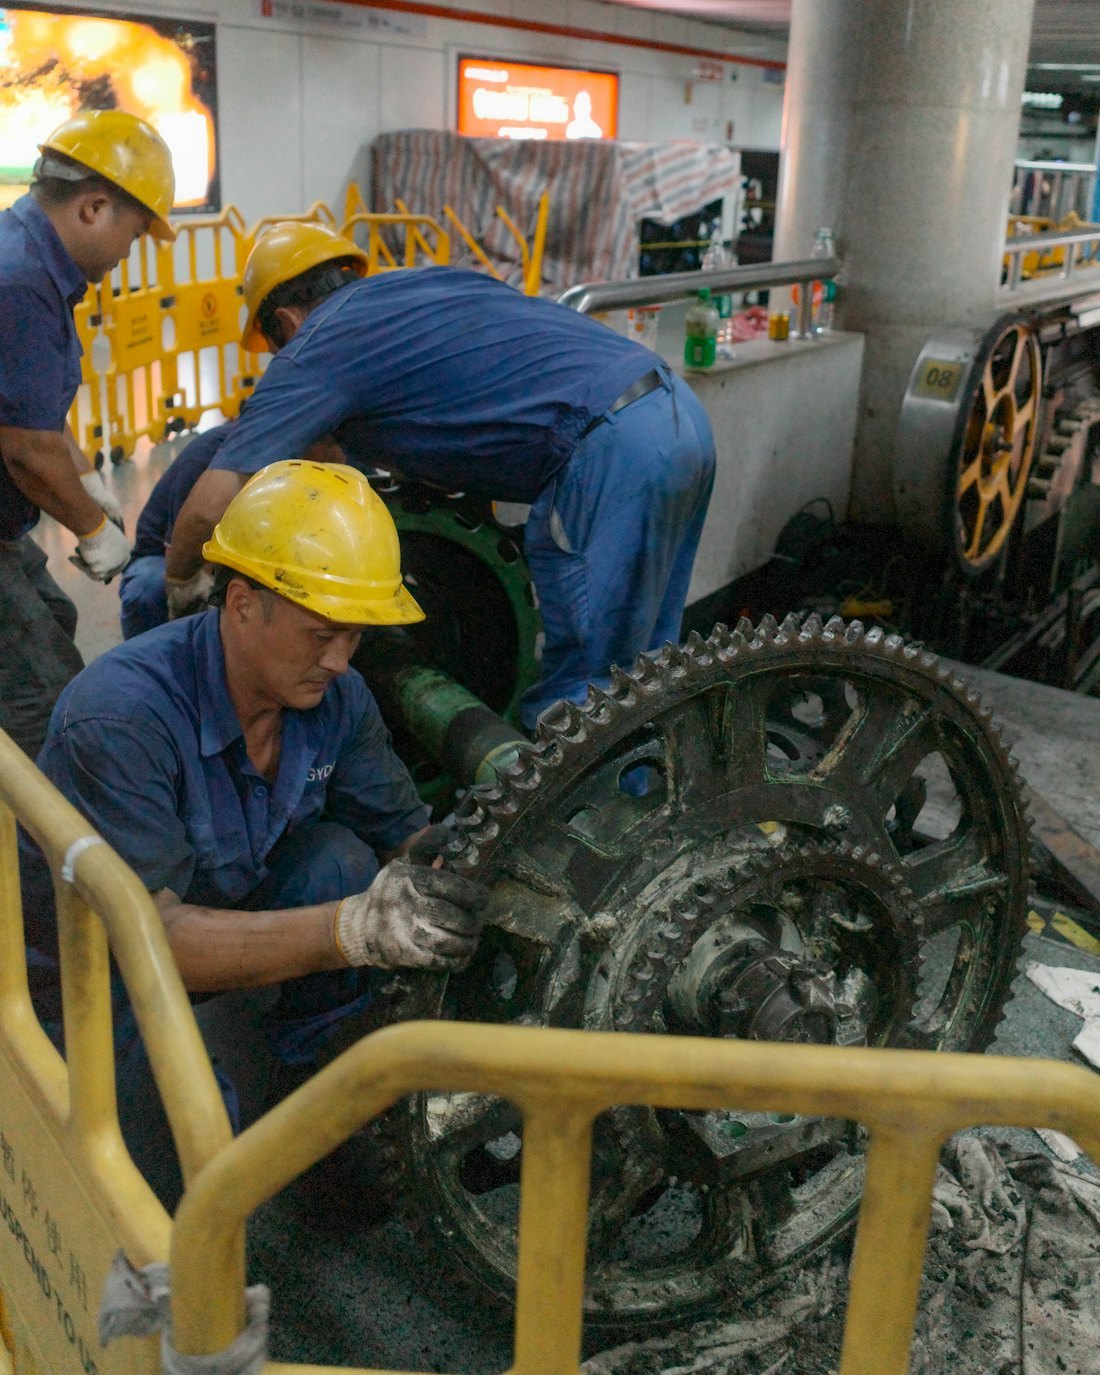
Set jaws or a separator behind a solid shoulder or inner hub surface where the procedure allows. Avoid using gear teeth as a purchase point because bending or chipping them can make a gear unusable.
Keep the forcing screw centered on a protected shaft end. Use an appropriate pad or adapter where permitted so the screw does not mushroom a shaft end or damage spline lead-ins.
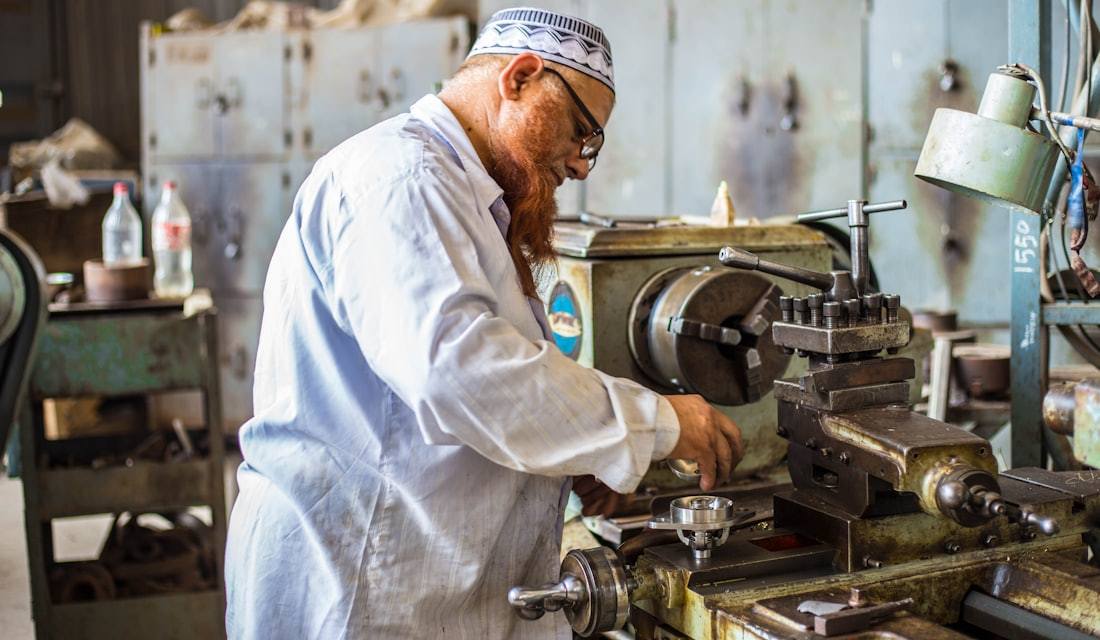
Support the shaft and adjacent components so extraction force does not bend a shaft or load a fork. Stable support also helps the hub move evenly rather than cocking on the splines.
Apply force in small increments and watch for equal separation. Stop if the hub tilts, the tool walks, or the load rises sharply; inspect the fit and remaining retainers before restarting.
Check the hub bore, splines, dog teeth, sleeve, keys, and gear cone for wear or scoring. These observations help determine whether a part is reusable and whether a different installation method is needed.
Plan the correct sleeve, press support, heating method where approved, and orientation marks before refitting components. DNT Tools can help workshops select puller and separator combinations for common transmission service setups.
For a puller, separator, or support setup matched to your application, contact DNT Tools with the component dimensions.