
OEM Automotive Tools Manufacturer | Bearing Pullers & Repair Tools Supplier

Home / All / Support / How to Bleed Brakes: Tools & Step-by-Step Guide

How to Bleed Brakes: Tools & Step-by-Step Guide

Update Time:2026/7/14

How to Bleed Brakes Safely

Bleed brakes only after confirming the correct brake-fluid specification and the wheel sequence in the vehicle service information. Keep the reservoir above the minimum mark, work one bleeder at a time, and stop if the pedal remains soft or a leak is visible. A pressure or vacuum brake bleeder can make a one-person job more controlled, but no tool replaces the factory procedure for your exact vehicle.
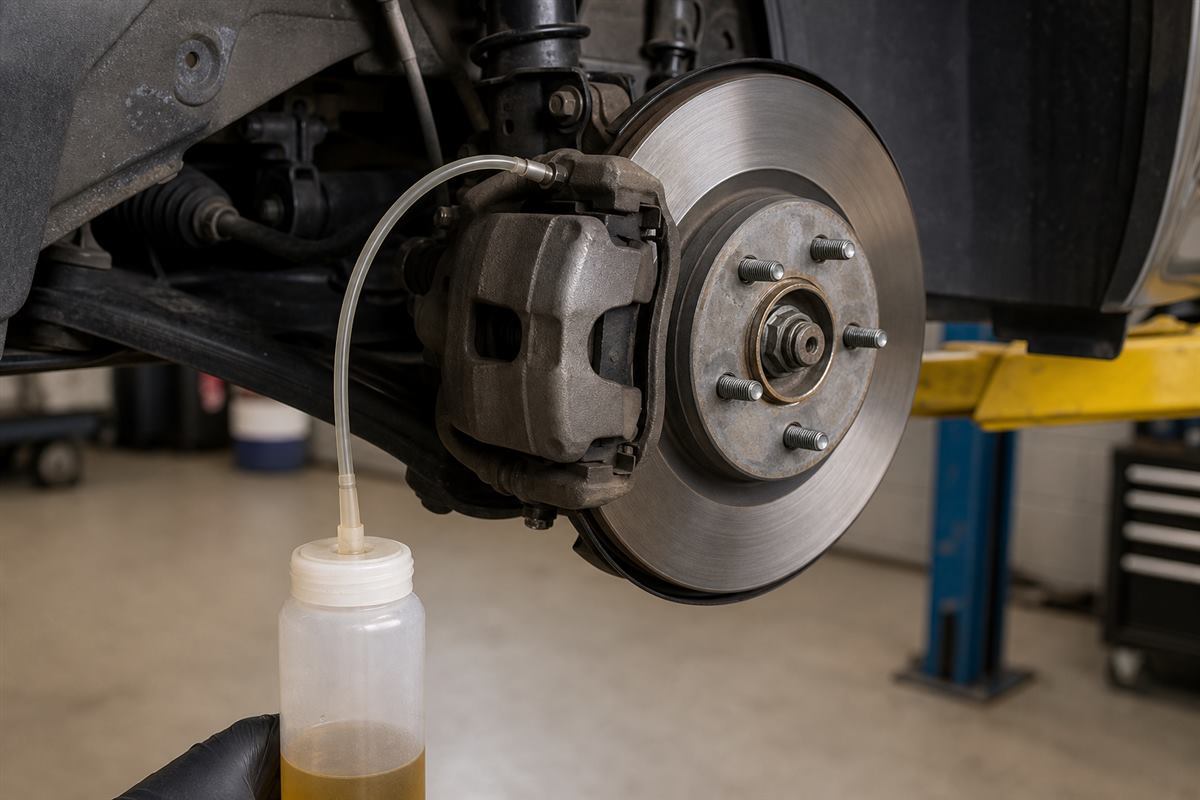
Generic brake caliper with a clear bleed hose and catch bottle
A clear hose and catch bottle help you monitor fluid and air during brake service.

Brake Bleeding Tools Checklist

Essential items

  • Fresh, sealed brake fluid of the exact specified type
  • Correct-size flare or box wrench for each bleed screw
  • Clear hose and a compatible catch bottle
  • Gloves, eye protection, absorbent rags, and wheel-support equipment

Useful upgrades

  • Vacuum brake bleeder for extracting fluid at the caliper
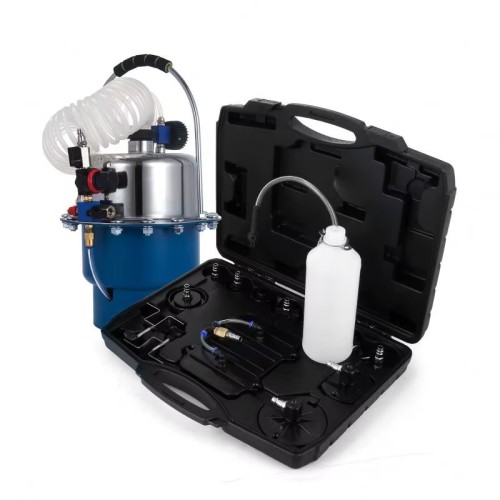
  • Pressure brake bleeder with the correct reservoir adapter
  • Fluid syringe or extractor for reservoir service
  • Service manual or approved repair information for sequence and torque

Choose Pedal, Vacuum, or Pressure Bleeding

MethodBest useWatch carefully
Two-person pedal bleedingBasic service when a helper is availableClose the screw before the pedal is released; do not force pedal travel beyond the vehicle guidance.
Vacuum bleedingOne-person fluid exchange and inspectionAir can appear at loose hose or screw threads, so confirm the source before assuming air remains in the circuit.
Pressure bleedingConsistent fluid delivery and workshop workflowsUse the correct cap adapter and the pressure specified by the equipment and vehicle documentation.
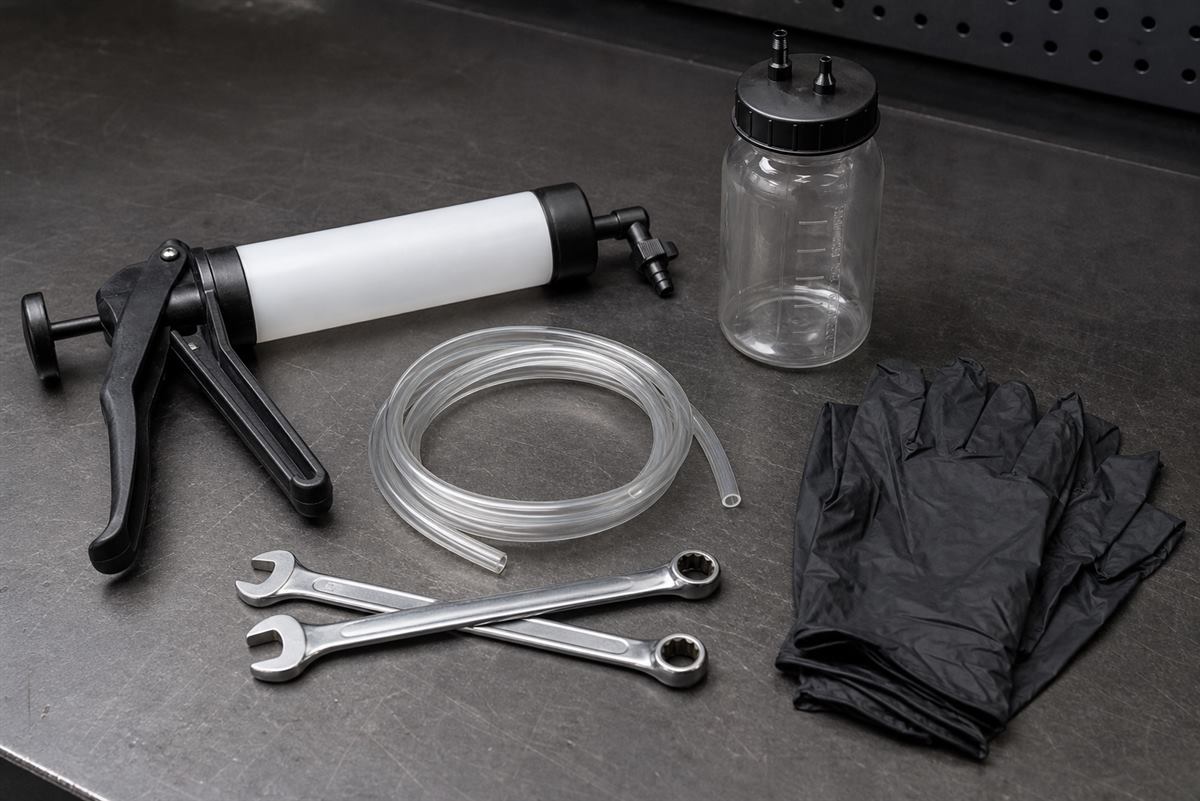
Unbranded brake bleeding tools arranged on a workshop bench
A hand pump, clear hose, catch bottle, gloves, and wrenches support a controlled setup.

Before You Open a Bleeder Screw

  1. Park on level ground, secure the vehicle, and support it correctly before removing a wheel.
  2. Read the required fluid type, bleed order, ABS notes, and torque information for the exact model.
  3. Clean around the reservoir and bleeder screw so dirt cannot enter the hydraulic system.
  4. Fit the wrench and hose before opening the screw; route used fluid into a suitable container.

Step-by-Step Brake Bleeding Procedure

  1. Fill the reservoir with new, specified brake fluid and keep it above the minimum line throughout the job.
  2. Begin at the wheel specified by the vehicle procedure, not a guessed universal order.
  3. Apply the chosen method, open the bleeder only as needed, and watch the clear hose for bubbles and fluid condition.
  4. Close the bleeder before releasing pedal pressure or removing the tool connection.
  5. Recheck the reservoir level, then repeat at the remaining wheels in the documented sequence.
  6. When finished, set the fluid level correctly, clean spills promptly, and install protective caps.

How to Keep Air Out of the System

Most failed bleeding attempts start with an empty reservoir, an open screw at the wrong moment, or a loose connection that lets air enter or appear in the hose. Refill the reservoir often, keep the clear hose seated, and isolate one wheel at a time. Do not reuse drained fluid.

ABS, Electronic Brakes, and Vehicle-Specific Sequences

Some ABS, electronic brake, and brake-by-wire systems require a scan-tool routine, a defined pressure method, or a special sequence to move fluid through the modulator. Do not assume a conventional four-wheel bleed will remove air from every circuit. Follow the manufacturer repair information; when a required diagnostic function is unavailable, use a qualified technician.
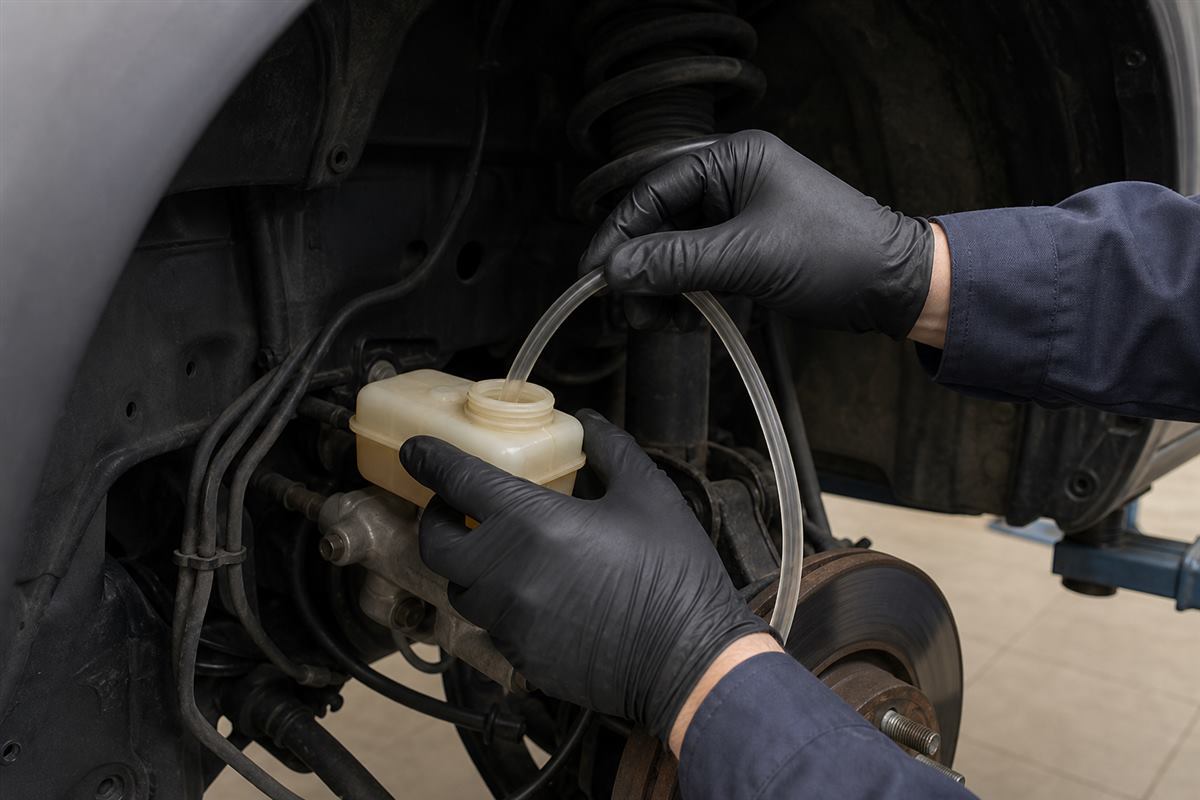
Gloved hands monitoring an unbranded brake fluid reservoir during service
Keep the reservoir supplied with the specified fluid throughout the procedure.

Troubleshooting a Soft Pedal After Bleeding

  • Pedal still soft: Recheck the documented sequence, fluid level, hose connections, and visible leaks.
  • Bubbles never stop: Inspect the hose and bleeder connection for external air entry before repeating the entire process.
  • Fluid leak or damaged screw: Stop work. Repair the fault before testing brake performance.
  • ABS warning or unusual pedal behavior: Follow the exact diagnostic procedure for the vehicle instead of continuing with generic steps.

Final Checks Before Road Testing

With every bleed screw secured, confirm the reservoir level, check for leaks, and apply the brake pedal with the engine off and then as specified for the vehicle. The pedal should feel firm and stable. Do not road-test a vehicle with a soft pedal, a warning light, or any sign of fluid leakage.

For workshop-ready brake service tools and application guidance, contact DNT Tools.

Are you looking for a reliable manufacturer of Automotive Tools&Hand Tools?

We can quickly provide customers with market analysis, technical support and customized services.