


- Ningbo Dongning Tools Co.,Ltd
- Professional Chinese Tools manufacturer on automotive speciality tools,bearing puller&heavy truck tools
- Address
- No.6 Falan Rd,Hengjie Town,Ningbo City,Zhejiang,China
- Phone
- +86-574-87216625
- info@nbdntools.com

Safety Tip:Always wear safety glasses when working on your vehicle. Wear other personal protective equipment (PPE) when necessary, for example latex gloves or closed toe shoes.
1.Park your vehicle on a solid level surface. Set the parking brake and chock the rear wheels.
2.Break loose the front wheel lug nuts with a tire iron, but do not remove. Using a floor jack, lift up the front of your vehicle.
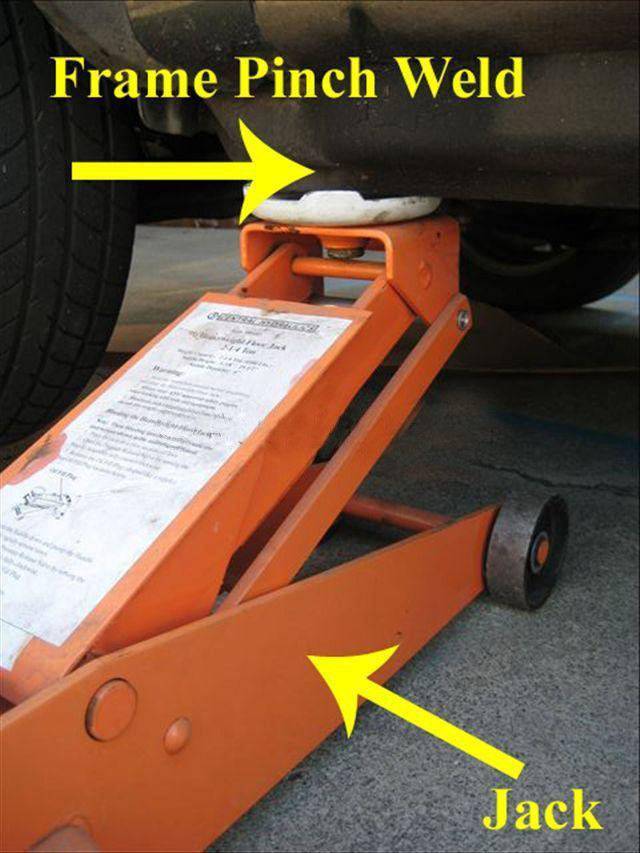
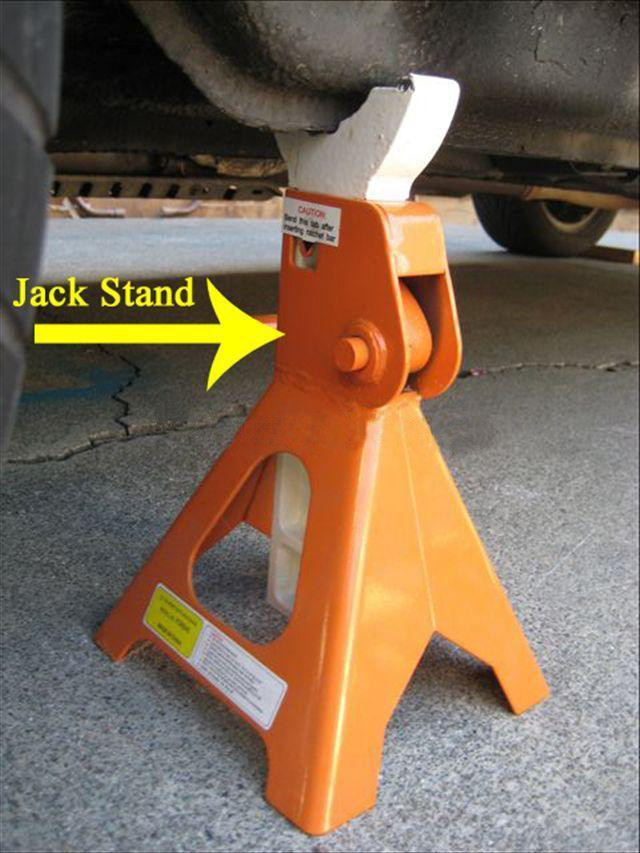
3.Support the vehicle with jack stands on both sides for safety before starting any work. The pinch welds or the frame rails are the two best locations. Do not rely on the jack to hold the vehicle up while working.
4.Remove the wheel lug nuts. Remove the front wheels and set them aside.
5.Support the lower control arm with a floor jack.
6.Disconnect the sway bar end link from the lower control arm.
7.Remove the front shock absorber.
8.Connect the coil spring compressor to the coil spring.
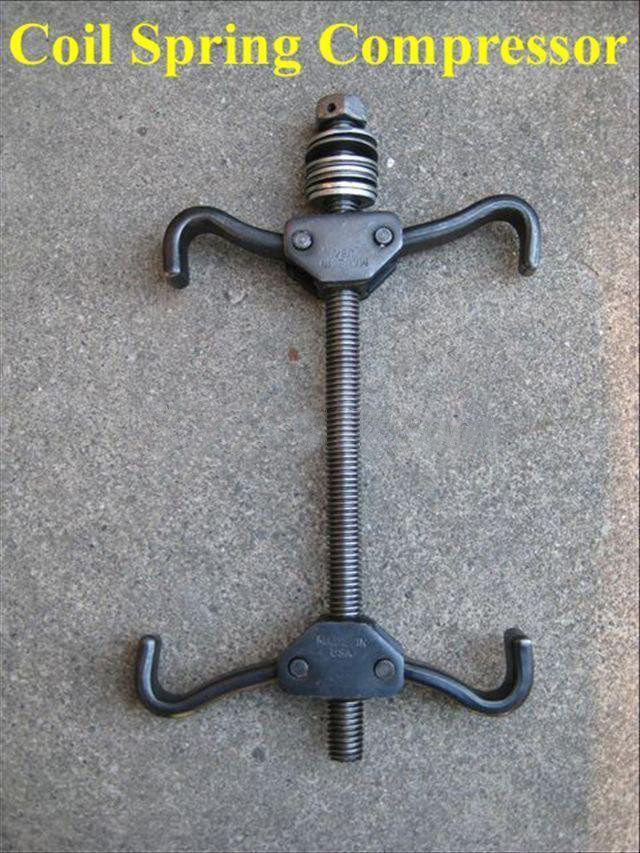
9.Separate the lower ball joint from the lower control arm. Lower the floor jack and remove the coil spring.
10.Remove the coil spring compressor tool from the old spring. If necessary, remove the spring insulator (a rubber or plastic mount that sits between the body and spring) from the top of the spring.
11.Attach the spring compressor to the new coil spring and compress the spring.
12.If applicable, install the spring insulator.
13.Insert the coil spring into the spring seats.
14.Raise the lower control arm and reattach the lower ball joint. Remove the spring compressor.
15.Reinstall the shock absorber and sway bar end link.
16.Repeat steps 5 through 15 for the other side. Remove vehicle from jack stands and drive car to seat the coil springs.