- Ningbo Dongning Tools Co.,Ltd
- Professional Chinese Tools manufacturer on automotive speciality tools,bearing puller&heavy truck tools
- Address
- No.6 Falan Rd,Hengjie Town,Ningbo City,Zhejiang,China
- Phone
- +86-574-87216625
- info@nbdntools.com

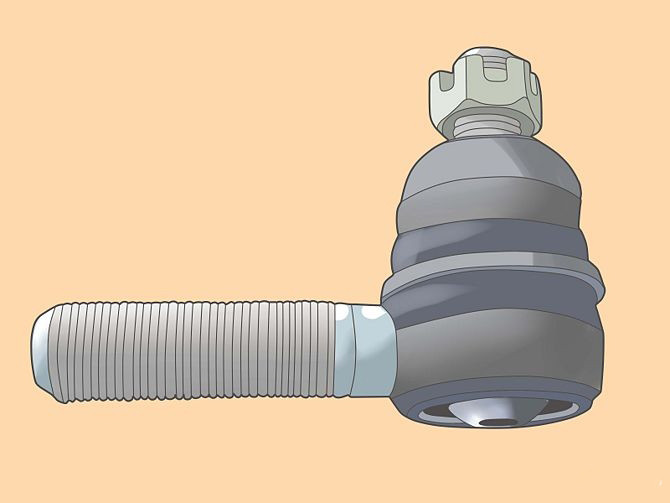
Replacing tie rod ends refers to repairing an integral part of a vehicle's steering mechanism. With a few basic tools and a little bit of know-how, this is a procedure that anyone, with a little bit of automotive experience, can perform on their own. Follow these steps for how to replace tie rod ends.
Steps:
1. Identify the components for each side of the tie rod ends as these are not interchangeable.
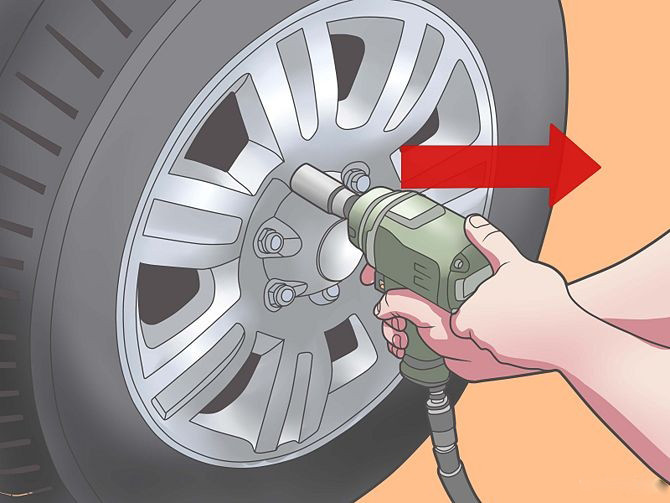
2.Loosen the front tires slightly before raising the vehicle.
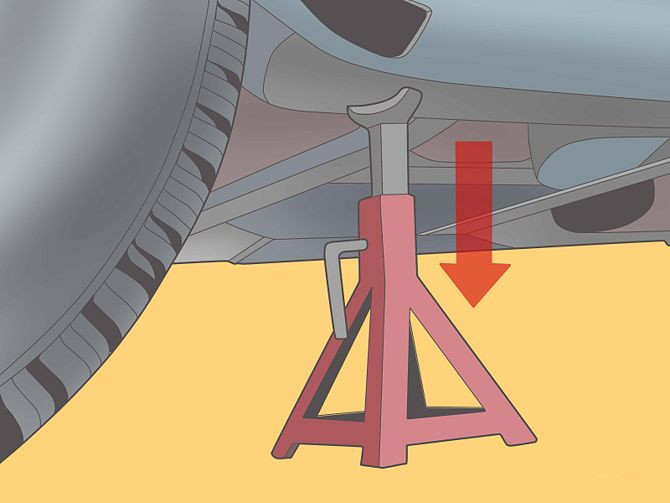
3.Raise the front end with a floor jack, stabilize the vehicle with jack stands and chock the rear tires.
4.Remove the front wheels.
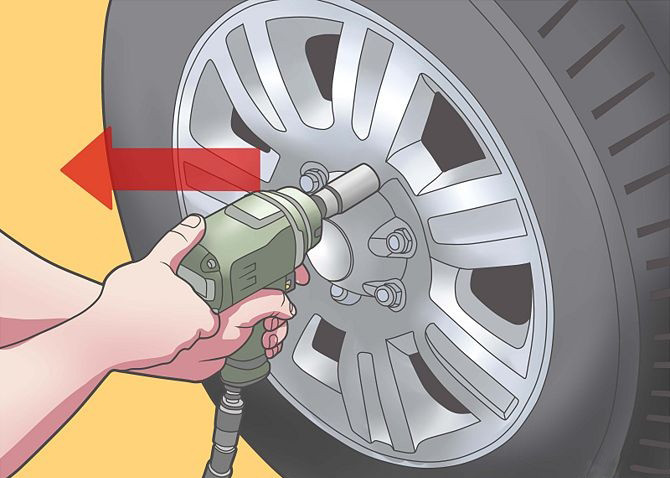
5.Remove the pinch bolts (using a spray lubricant to ease), which hold the tie rod ends to the steering column.
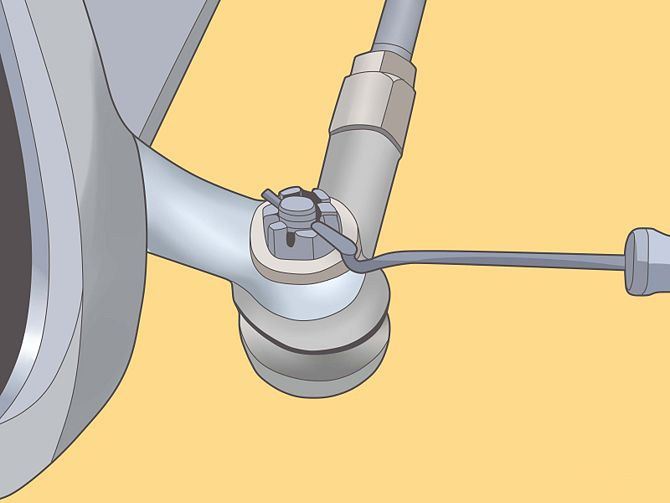
6.Remove the split pin and throw it away and detach the bands that hold the dust boot on the inner tie rods.
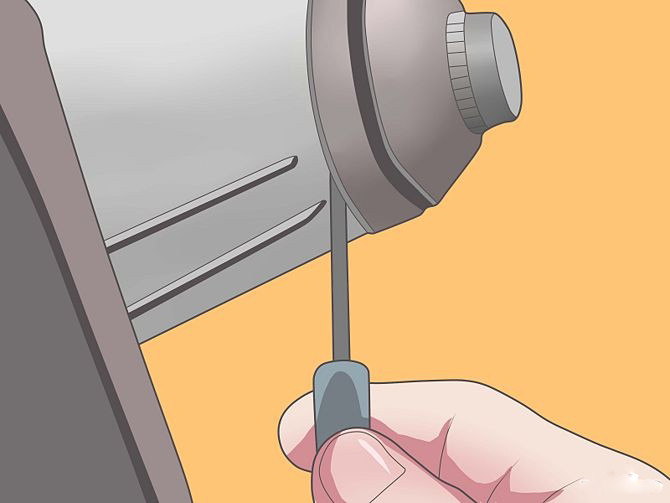
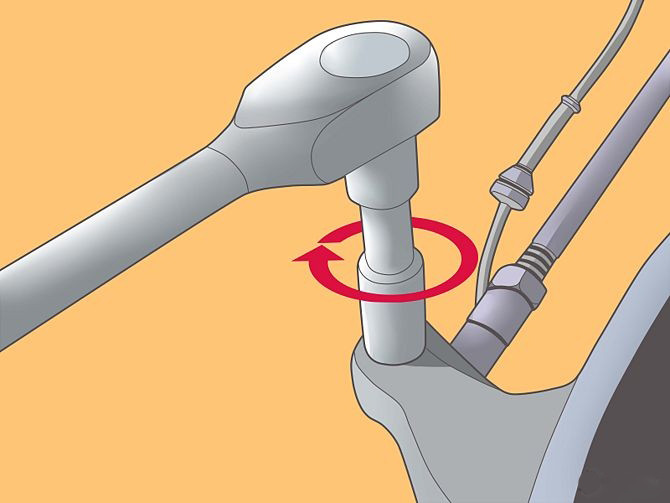
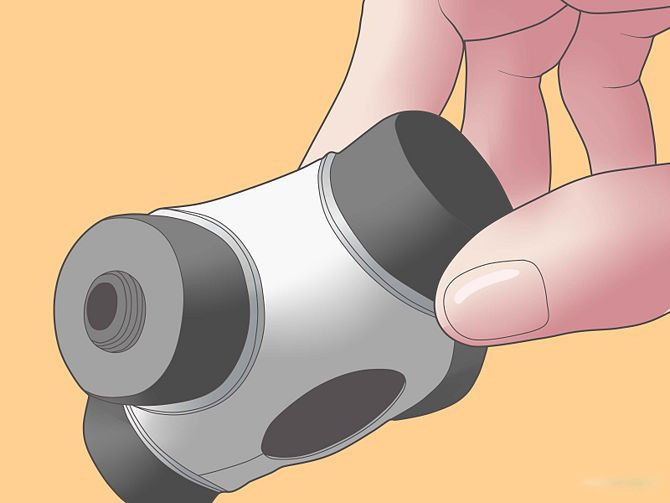
7.Pull off the dust boot using a flathead screwdriver.
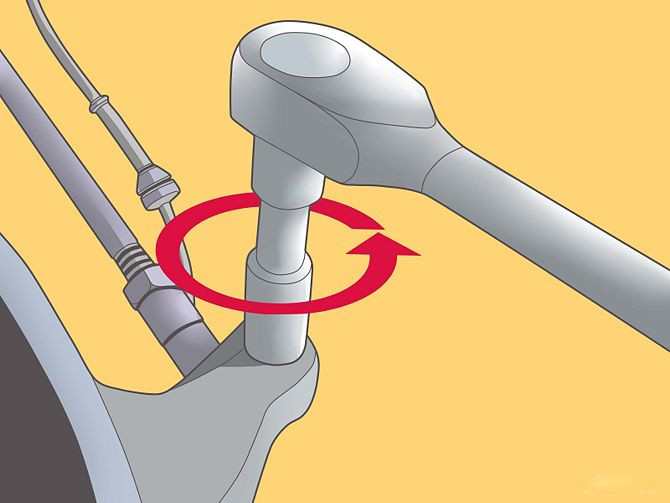
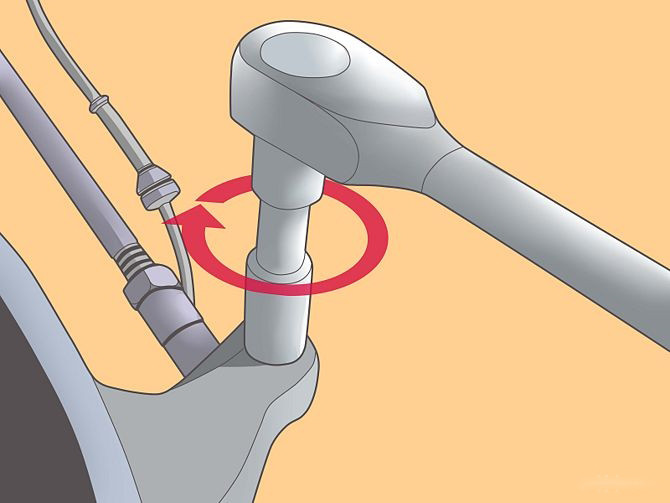
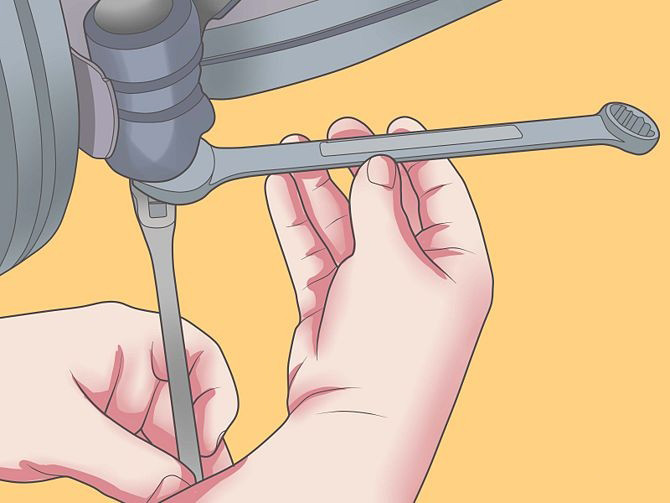
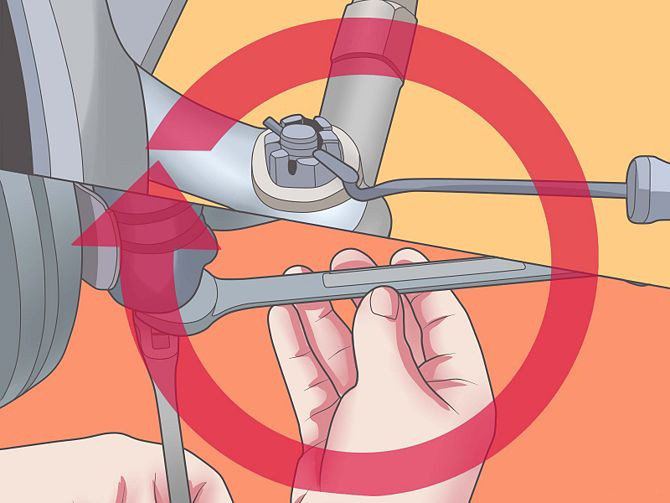
8.Use a properly sized ratchet wrench to dislodge the nut connecting the tie rod to the wheel and rotate the nut clockwise.
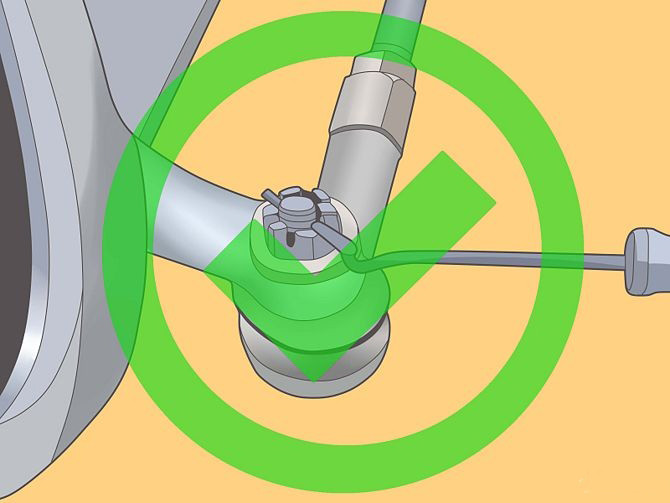
9.Use a ball joint separator tool to remove the tie rod end from the main joint of the steering assembly.

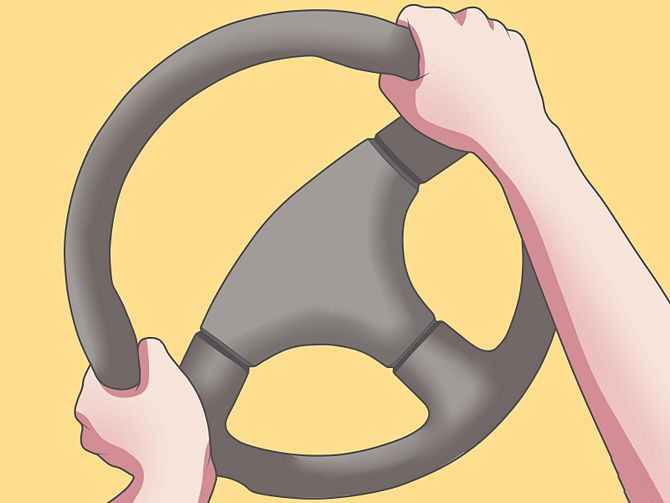
10.Rotate the steering wheel until the wheels are facing a forward direction.
Be sure to shift the boot away from the ball joint to access the inner tie rod. Label the placement of the inner tie rod end in relation to the steering column and ensure the mark is easily visible.
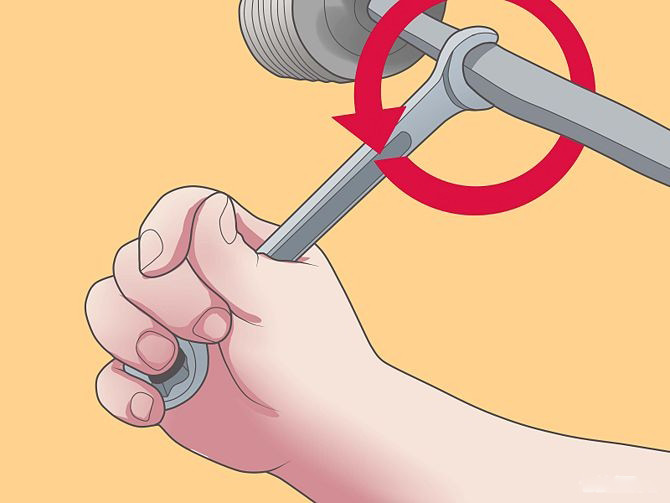
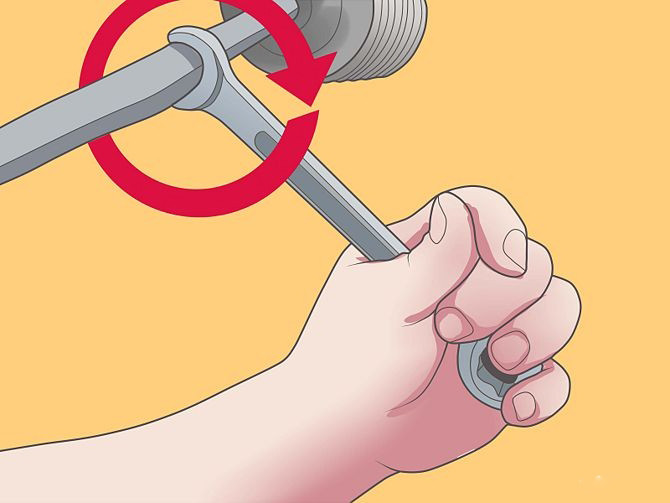
11.Use a wrench to detach the inner tie rod end from the steering assembly and remove the dust boot from the tie rod.
12.Assemble the tie rod mechanism and slide the dust boot on and attach the bolt.
13.Put in the grease fittings, if applicable.
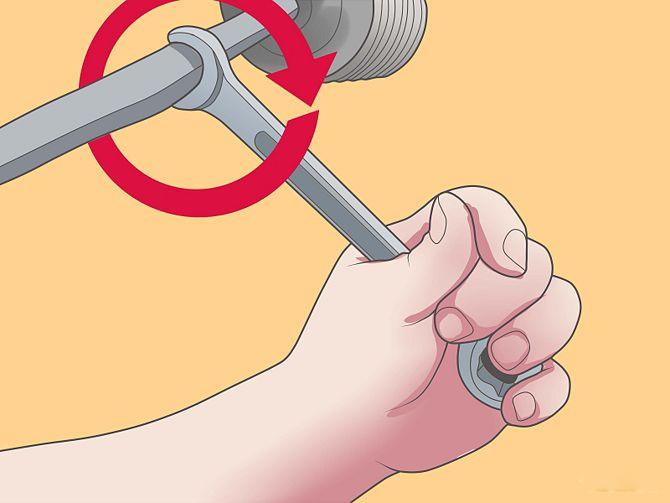
14.Reference your label and use a wrench to work the replacement tie rod into place.
15.Install the locking ring on the inner tie rod and attach the outer tie rod.
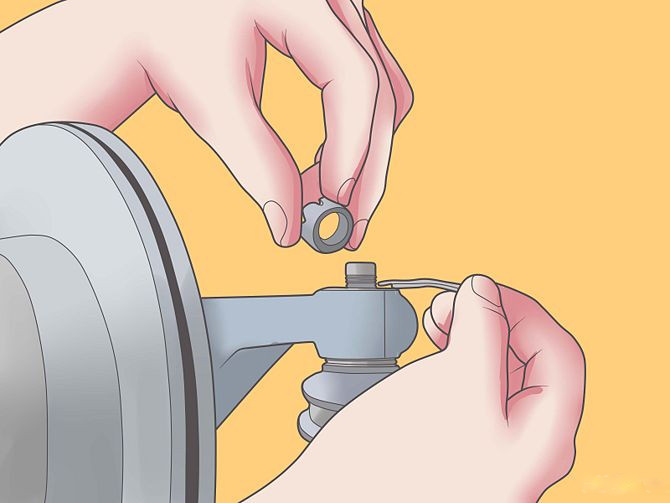
16.Assure that the locking nut is tightened properly.
17.Install the outer tie rod end at the wheel and ensure the bolt is properly tightened.
18.Verify that the locking bolt and the hole for the installation of the split pin are properly aligned and replace the split pin.
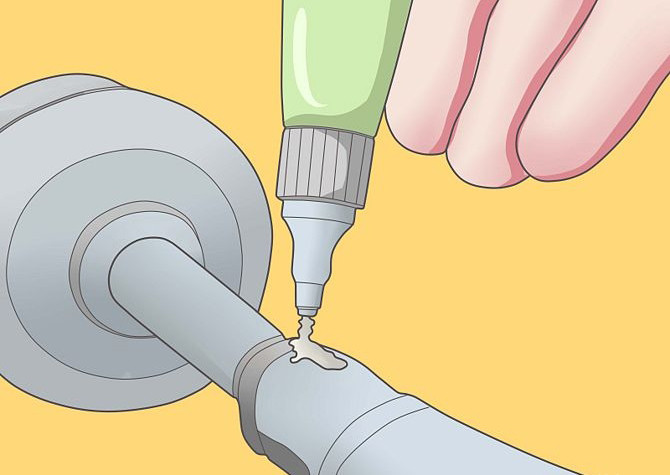
19.Apply grease to the tie rod end assembly generously and continue until it is visible.
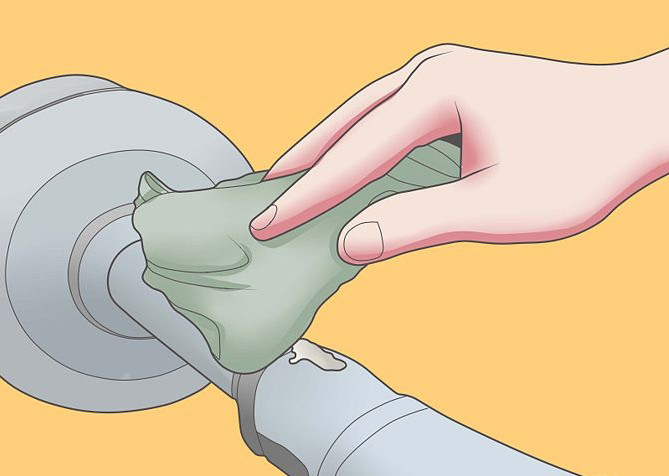
20.Clean up the excess grease and replace the wheel.
21.Repeat this process to install the tie rod ends on the other side.
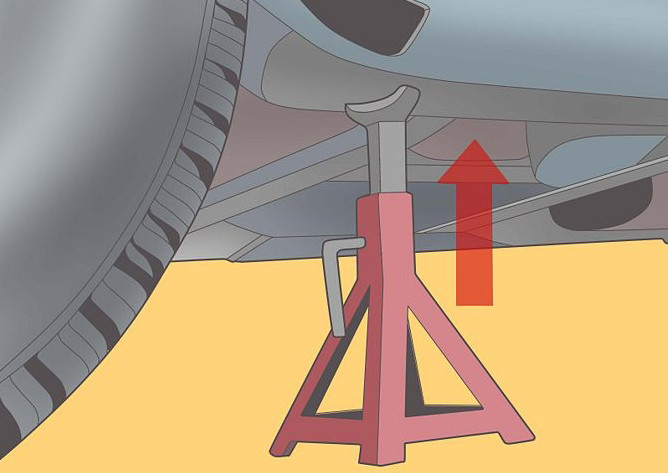
22.Remove the jack stands, lower the floor jack and have a professional alignment performed.