
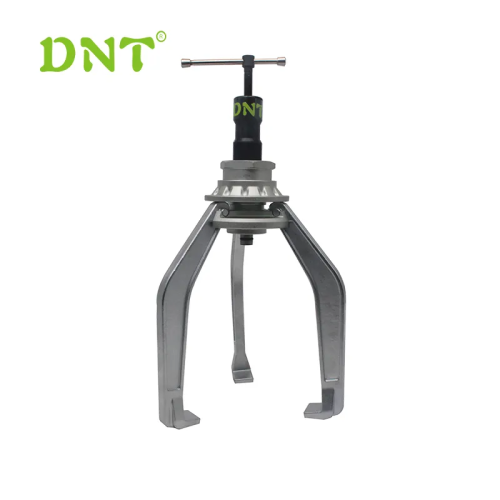
Bearing Puller
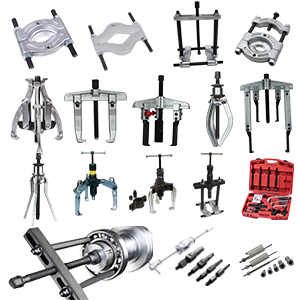
Automotive Tools
- Wheel Bearing Removal Tool
- Ball Joint Separator
- Brake Caliper Tool
- Oil Filter Wrench
- Coil Spring Compressor
- Injector Puller
- Bush Tool
- Altermator Puller Puller
- Engine Timing Tools
- Clutch Alignment Tool
- Engine Compression Tester
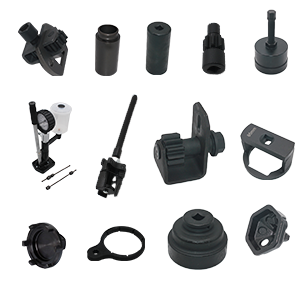
- Engine Repair Tools
- Injector Seat Cutter
- Mechanic Creeper
- Oil Drain Plug Key Tool
- Fluid Oil Extractor
- Brake Bleeder
- Fuel Tank Wrench
- Wiper Arm Puller
- Motorcycle Chain Breaker
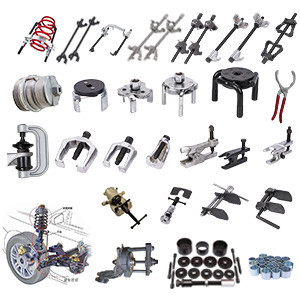
Truck Repair Tools
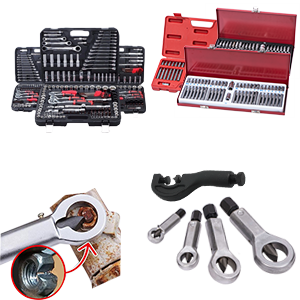
Mechanic Tools
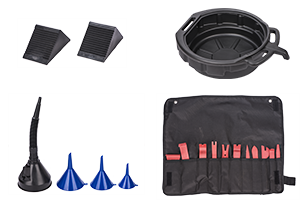
Plastic Auto Tools
how to replace bearings from Shaft by bearing extractor, puller tools-DNT Tools
Replacing bearings from a shaft involves several steps. Here is a general guide on how to replace bearings from a shaft:
Prepare the necessary tools: Gather the tools required for the bearing replacement process, including a bearing puller or extractor, appropriate wrenches or sockets, a hammer or mallet, and lubricant.
Safety precautions: Ensure the equipment is powered off and properly secured. Use appropriate personal protective equipment (PPE) such as gloves and safety glasses.
Disassembly: If the bearing is housed within a machine or assembly, carefully disassemble the surrounding components to access the bearing. Refer to equipment manuals or documentation for specific disassembly instructions.
Remove the retaining elements: Bearings are typically secured to the shaft with retaining elements such as locknuts, set screws, or snap rings. Remove these elements using the appropriate tools, ensuring they are kept safely for reassembly or replacement.
Bearing removal: Depending on the type and size of the bearing, use a bearing puller or extractor to gently and evenly apply force to remove the bearing from the shaft. Follow the instructions provided with the specific bearing puller tool to ensure safe and effective removal. If necessary, apply heat or use a suitable solvent to aid in loosening the bearing.
Clean the shaft: Once the bearing is removed, thoroughly clean the shaft surface using a suitable solvent to remove any debris or residue. Ensure the shaft is dry before proceeding to the next step.
Lubricate: Apply a thin layer of appropriate lubricant to the shaft surface to facilitate smooth installation and operation of the new bearing. Follow the manufacturer's recommendations for the type and amount of lubricant to be used.
Install the new bearing: Carefully position the new bearing onto the shaft, aligning it correctly with any necessary locating features or keyways. Use a suitable installation tool or drift and a hammer or mallet to gently tap the bearing into place. Ensure the bearing is fully seated against any shoulder or stop on the shaft.
Reassembly: Once the new bearing is properly installed, reassemble the surrounding components, taking care to follow the correct sequence and torque specifications. Replace any retaining elements that were removed during disassembly.
Test and verify: Before putting the equipment back into operation, conduct a thorough inspection and perform any necessary tests to ensure the bearing replacement was successful. Check for smooth rotation and proper alignment.
Remember to refer to the specific equipment's manufacturer instructions or seek professional assistance if you encounter any challenges during the bearing replacement process.

Are you looking for a reliable manufacturer of down home textile products?
We can quickly provide customers with market analysis, technical support and customized services.
- Ningbo Dongning Tools Co.,Ltd
- Professional Chinese Tools manufacturer on hand tools& automotive tools
- Address
- No.6 Falan Rd,Hengjie Town,Ningbo City,Zhejiang,China
- Phone
- 86-574-88298696 / 86-574-87070383
- info@nbdntools.com