


- Ningbo Dongning Tools Co.,Ltd
- Professional Chinese Tools manufacturer on automotive speciality tools,bearing puller&heavy truck tools
- Address
- No.6 Falan Rd,Hengjie Town,Ningbo City,Zhejiang,China
- Phone
- +86-574-87216625
- info@nbdntools.com


Decide if you want direct replacement coil springs or an upgraded set and purchase them from your local auto parts dealer or online.
Park your vehicle on a flat service and set the emergency brake to prevent the vehicle from rolling while you work on it.
Loosen the lug nuts on the tire you will be removing. Slide the jack under the vehicle on that side and raise the vehicle until the tire comes off the ground. Place a jack stand under the car and lower the car so the jack stand is supporting it. Remove the tire and set it aside. Be sure the jack and jack stand you use are rated to support the weight of your vehicle.
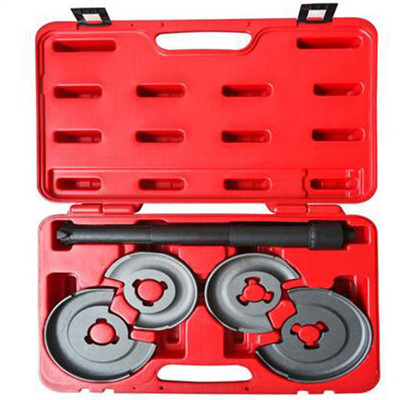
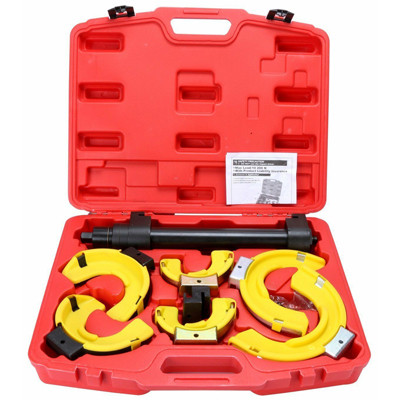
Fold the jaws of the coil spring compressor so that they are touching the center rod. Insert the compressor into the coil spring. Make sure the end of the compressor used for tightening the jaws does not go in first. Be very careful handling the compressed springs. They hold a tremendous amount of kinetic energy.
Spread the jaws of the coil spring compressor so that each jaw grasps one of the coils of the spring.
Tighten each jaw of the coil spring compressor by turning the nut on top of the compressor clockwise.
When the coil spring is compressed enough, remove it from the vehicle. Turn the tightening nut counter clockwise to loosen the compressor jaws and the coil spring compressor will release the spring.
Fold the coil spring compressor again so the jaws touch the center rod and slip it into the new coil spring. Set the compressor jaws so that each jaw grasps onto a coil of the new spring. Compress the spring by turning the top nut clockwise.
Insert the compressed spring into the location where the old spring was and turn the tightening nut again in a counter clockwise direction to set the spring in place fully. Once the spring has been securely installed, you can remove the coil spring compressor.
Tighten up any bolts you loosened to remove the coil spring and put the tire back on the vehicle. Raise the vehicle with the jack, remove the jack stand and slowly lower the vehicle to the ground. Securely tighten the lug nuts on the tire and repeat these procedures for the other coil spring.