


- Ningbo Dongning Tools Co.,Ltd
- Professional Chinese Tools manufacturer on automotive speciality tools,bearing puller&heavy truck tools
- Address
- No.6 Falan Rd,Hengjie Town,Ningbo City,Zhejiang,China
- Phone
- +86-574-87216625
- info@nbdntools.com

This is a step by step of how to get toyour ball joints and wheel bearings. Different models may have a different setup.
Steps:
1.Jack up vehicle and place securely on jackstands
2.Remove front tires.

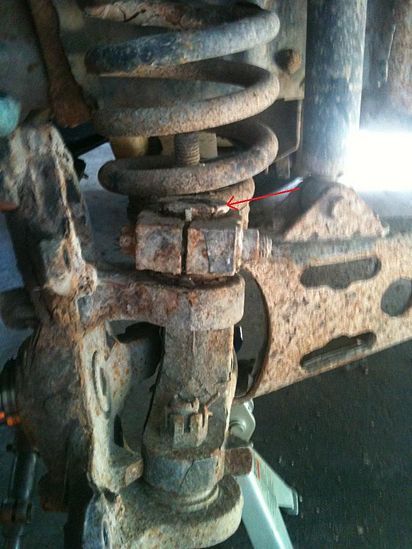
3.Remove brake caliper.
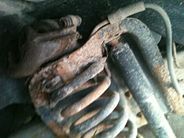
DO NOT let the caliper hang by the rubberhose. Always either tie it to somethingthat's not coming off, or find a nice place for it to rest that it won't dropoff. Her it is set on top of the coilspring.
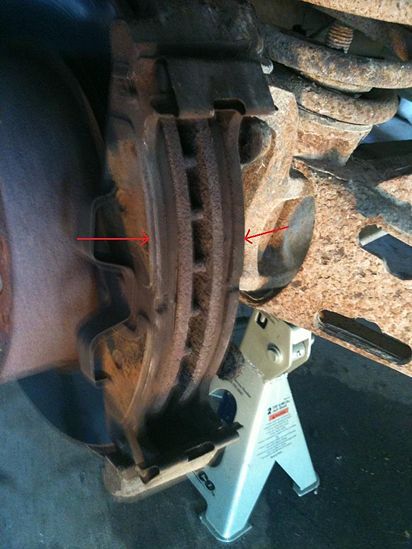
4.Remove both brake pads by pulling themstraight out, then up.
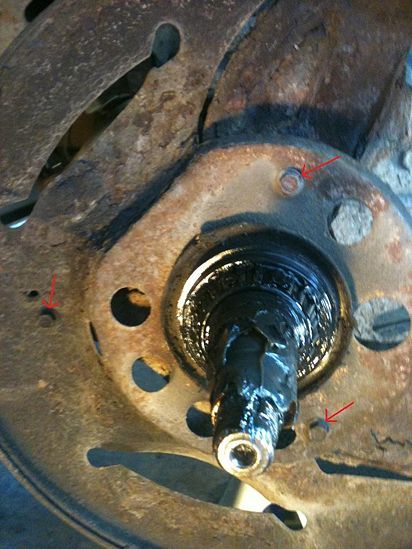
5.Remove the dust cover for the wheel bearings by prying the cap off witha screwdriver or other small pry tool.

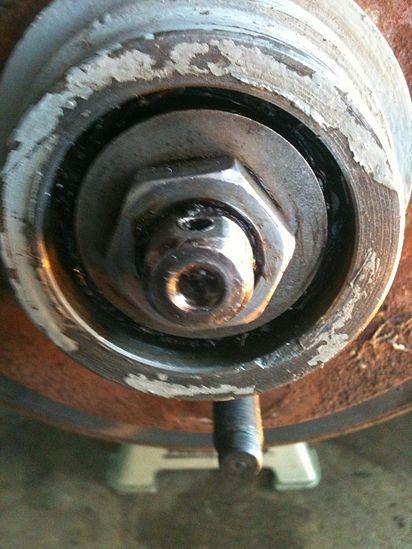
6. Remove the cotter pin and nut cover from thehub nut.
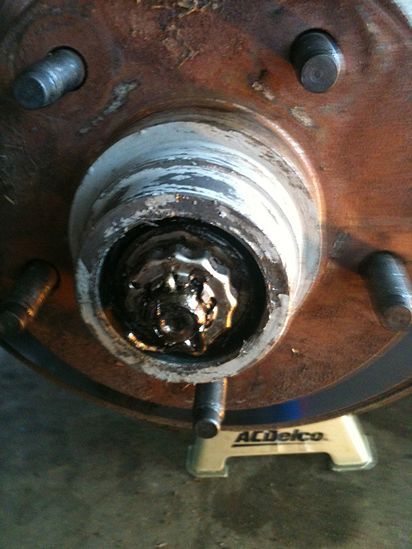
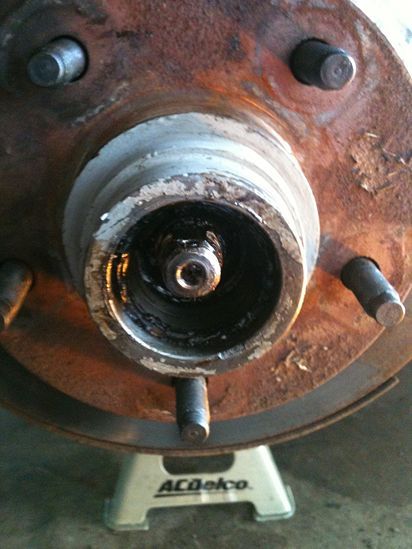
7.Remove the hub nut. When this nutis removed, the hub assembly will be free to fall off.
8.Pull the hub assembly straight out. The outer wheel bearing and washer will comeoff with the hub assembly, and will be free to fall. The inner bearing SHOULD stay in the hubassembly, but it may stay on the spindle if your seal is bad. Leave it on andit should come off in the next step.
9.Remove the brake shield but removing thethree bolts that hold it on and pull straight out.
10.Remove the outer tie rod from the spindleby removing the cotter pin and nut. Thread the nut back on a few turns to keep it from falling completelyoff of the spindle initially. Once it'sseparated from the spindle, you can take the nut off and lay it out of the way.
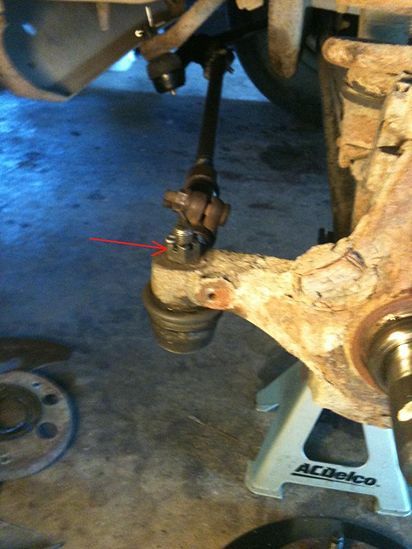
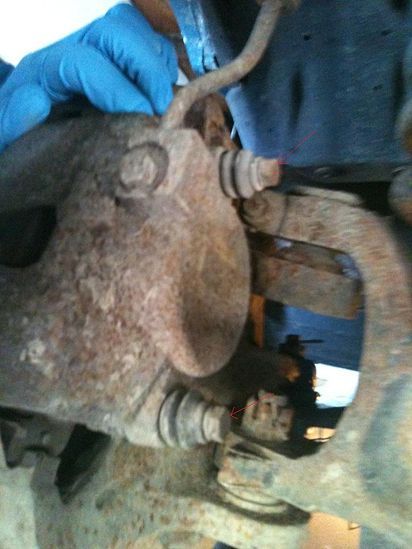
11. Once the tie rod is off, the spindle is free to move left and right. Spin it out of the way and have a look at the ball joints. First to come off is the bolt for the pinchjoint and camber adapter on the upper ball joint
.

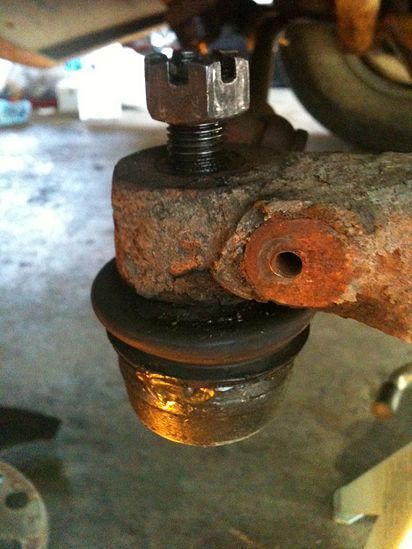
12.Remove the cotter pin and nut from the lower ball joint. Same deal as the tie rod end, thread it backon a few turns so it doesn't fall completely
.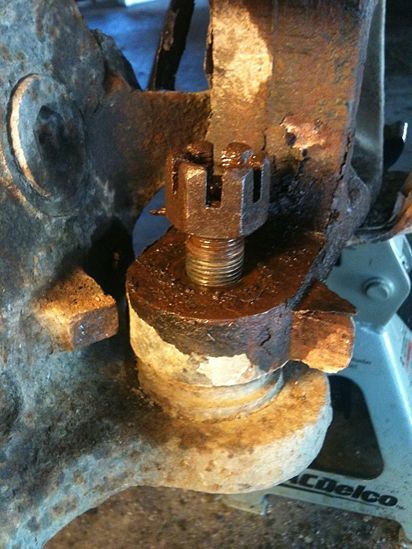

13.Give the axle and/or spindle a few tapswith a hammer until the ball joints separate from the axle. A ball jointseparator might be handy here, but it should fall right out after a few goodhits.
14.Remove the nut from the lower ball joint and remove the spindle.

15.Most manuals will tell you that the upperball joint MUST be pressed out first, but you may not find a way to do so. Remove the lower ball joint first by settingup the ball joint press with a receiver cup bigger than the ball joint on theupper part of the ball joint, and the forcing screw on the bottom part of theball joint. This image is set up for installingthe lower ball joint, so the only thing you would do differently is not havinga receiving cup and adapter plate on the bottom (Only the forcing screw needsto be on bottom). Repeat with the exact same setup for the upper balljoint. The forcing screw will actuallygo through the hole where the lower ball joint was when pressing out the upperball joint.
16.When installing the ball joints, you haveto start with the upper ball joint. Usethe setup in the picture for the previous step.
17.Once the ball joints are installed, greaseup your new wheel bearing by putting a glob of grease in your hand and workingit into the bearing until the grease is packed into all of the bearing. Put the inner bearing into the hub assembly,and then tap the seal into place over the bearing. Ensure that the seal is flush with the hubassembly to confirm proper installation.
18.Now for the phrase that everybody hates:Installation is the reverse of the removal. Just install the nuts back at the proper torque on the ball joints, tierod ends, and wheel lug nuts.